Stihl 051 AVL 3. - Cosmetics, and a quick tool making
The plan
I tried to decide if I wanted to keep the original used look of the saw, or give it a fresh appearance. I decided in favor of the latter option, but my goal is not to make it a museum piece, just a good looking machine. Especially because I’m not a painter, and it’s probably one of the things that I’ll never get the hang of it properly, but hopefully I can produce something acceptable, at least for me.
For the paint I used 2k epoxy primer and 2k acrylic car paint, which is fuel resistant so should be good for this application. As far as I could find out for the orange the RAL 2004 and for the white RAL 9010 are the original colors, or at least close enough.
For the exhaust it’s just a basic heat resistant black spray.
First, a bit more disassembly
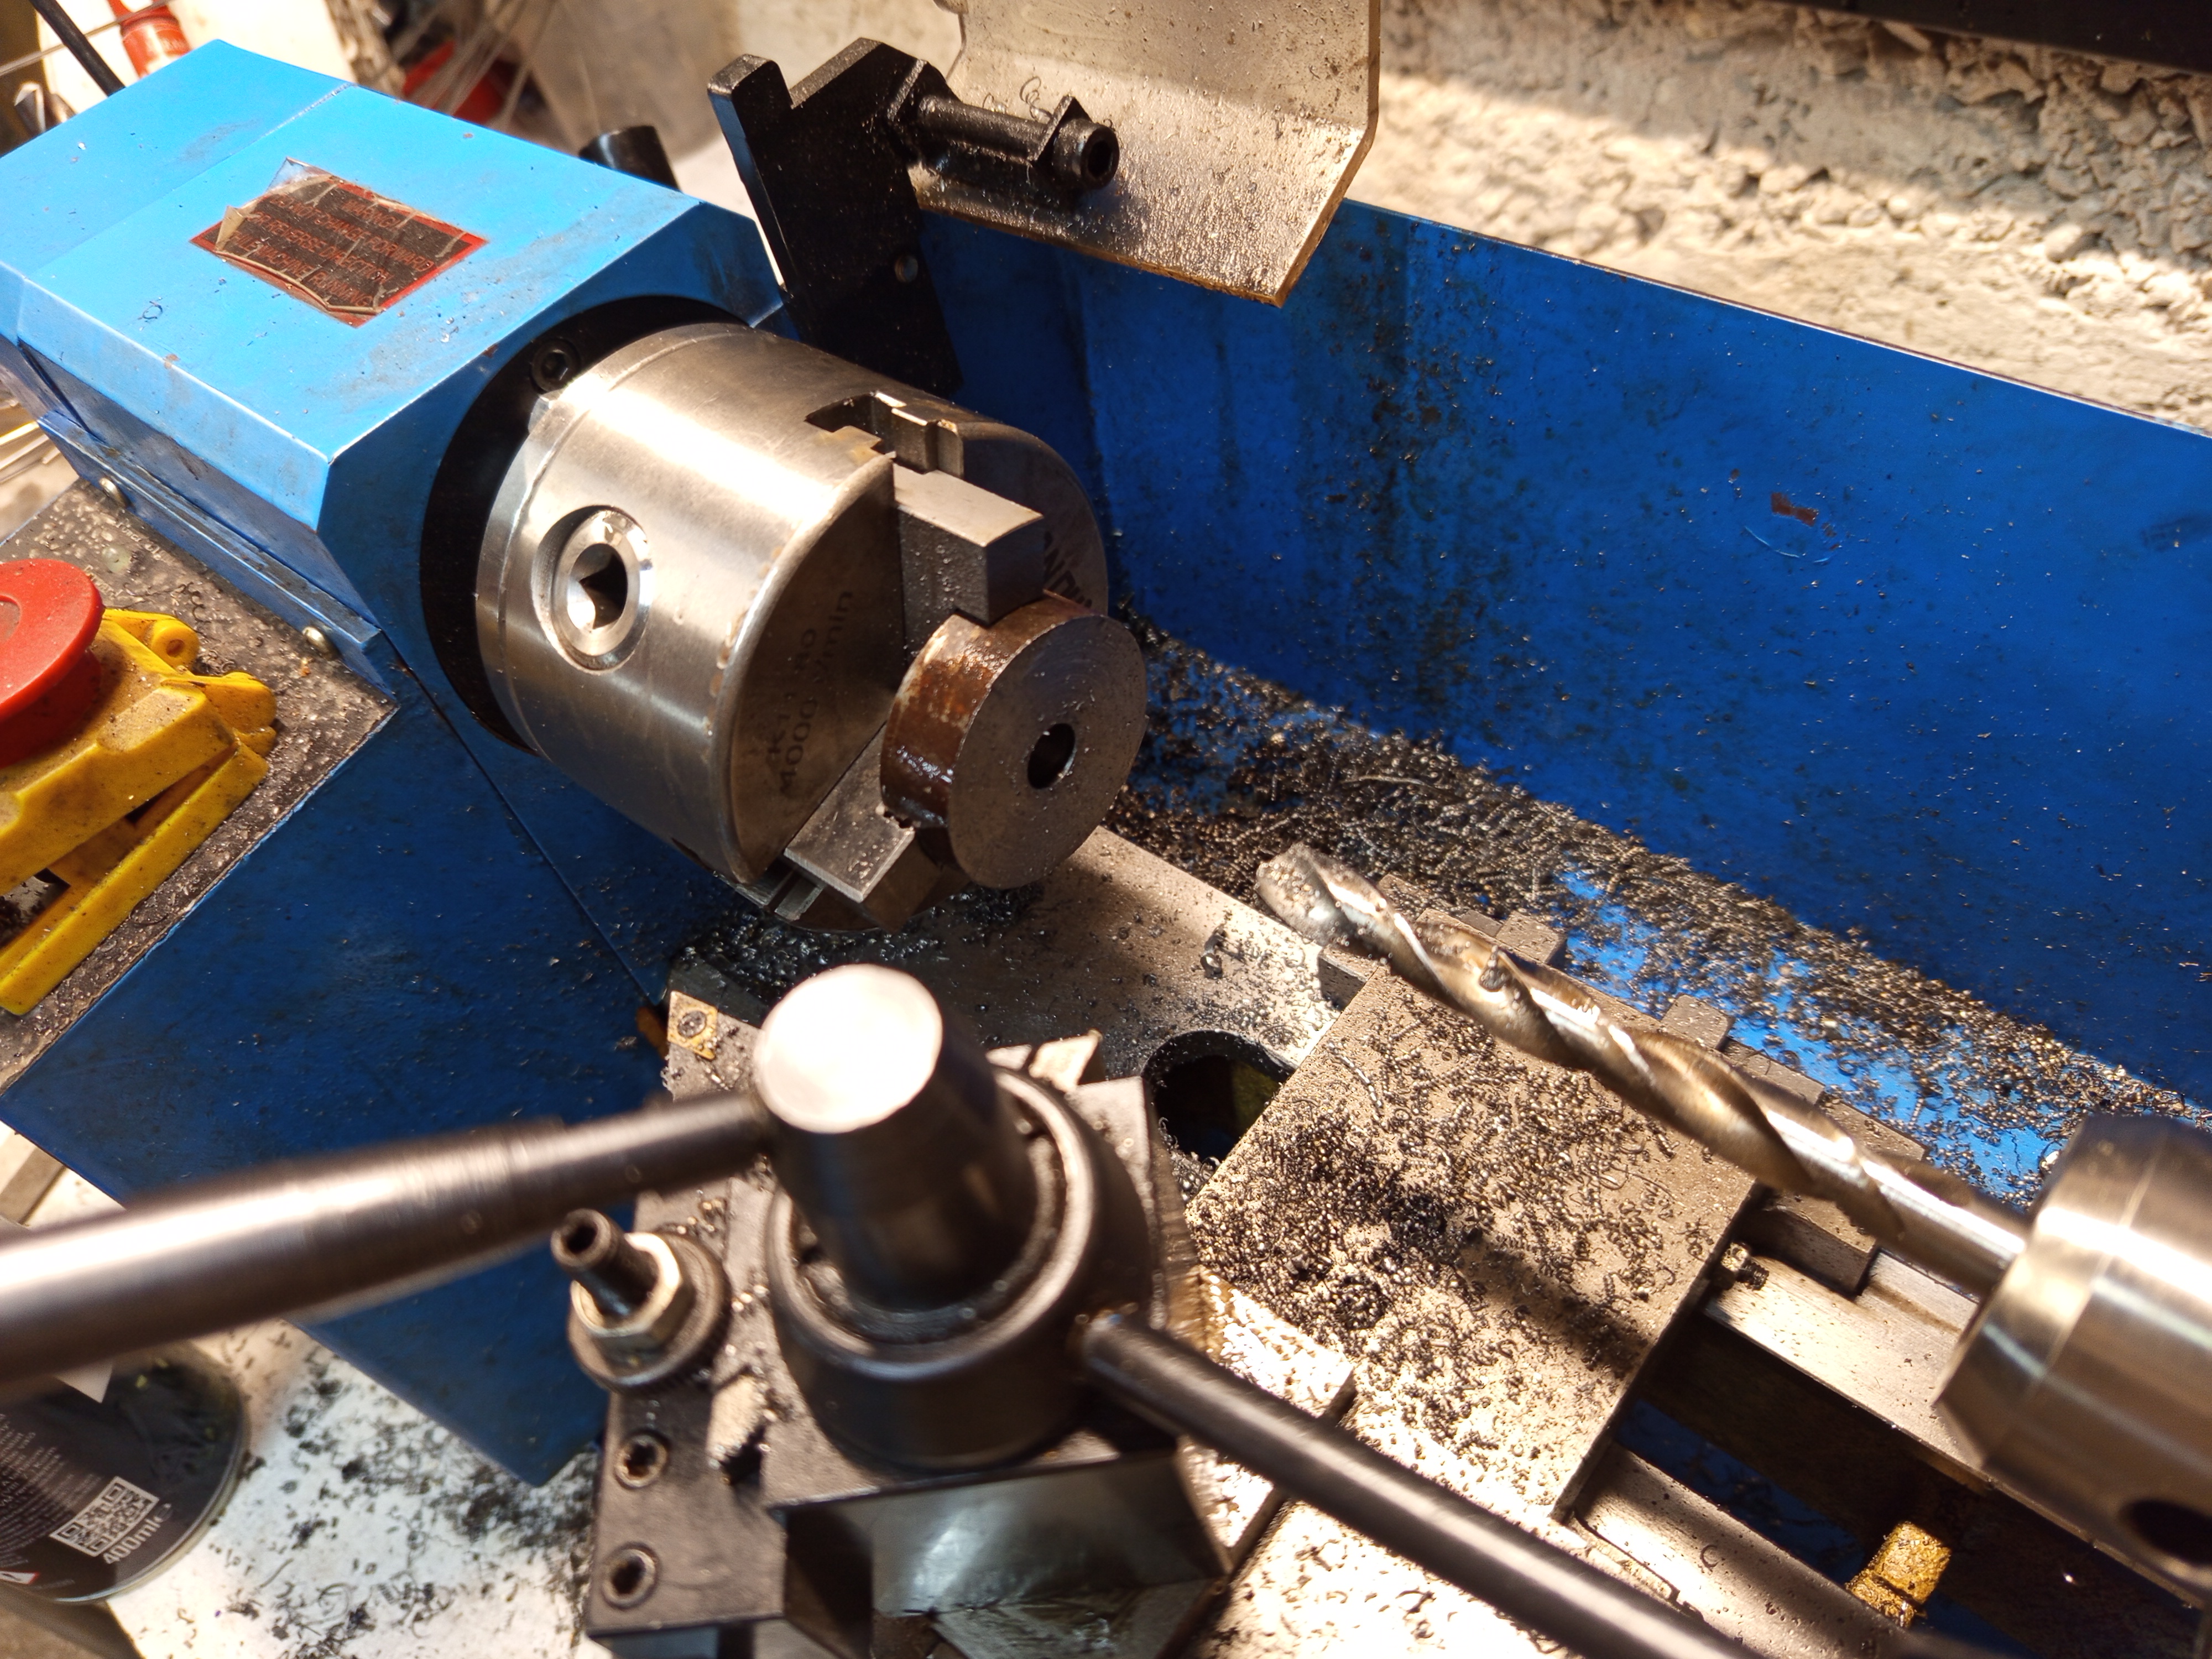
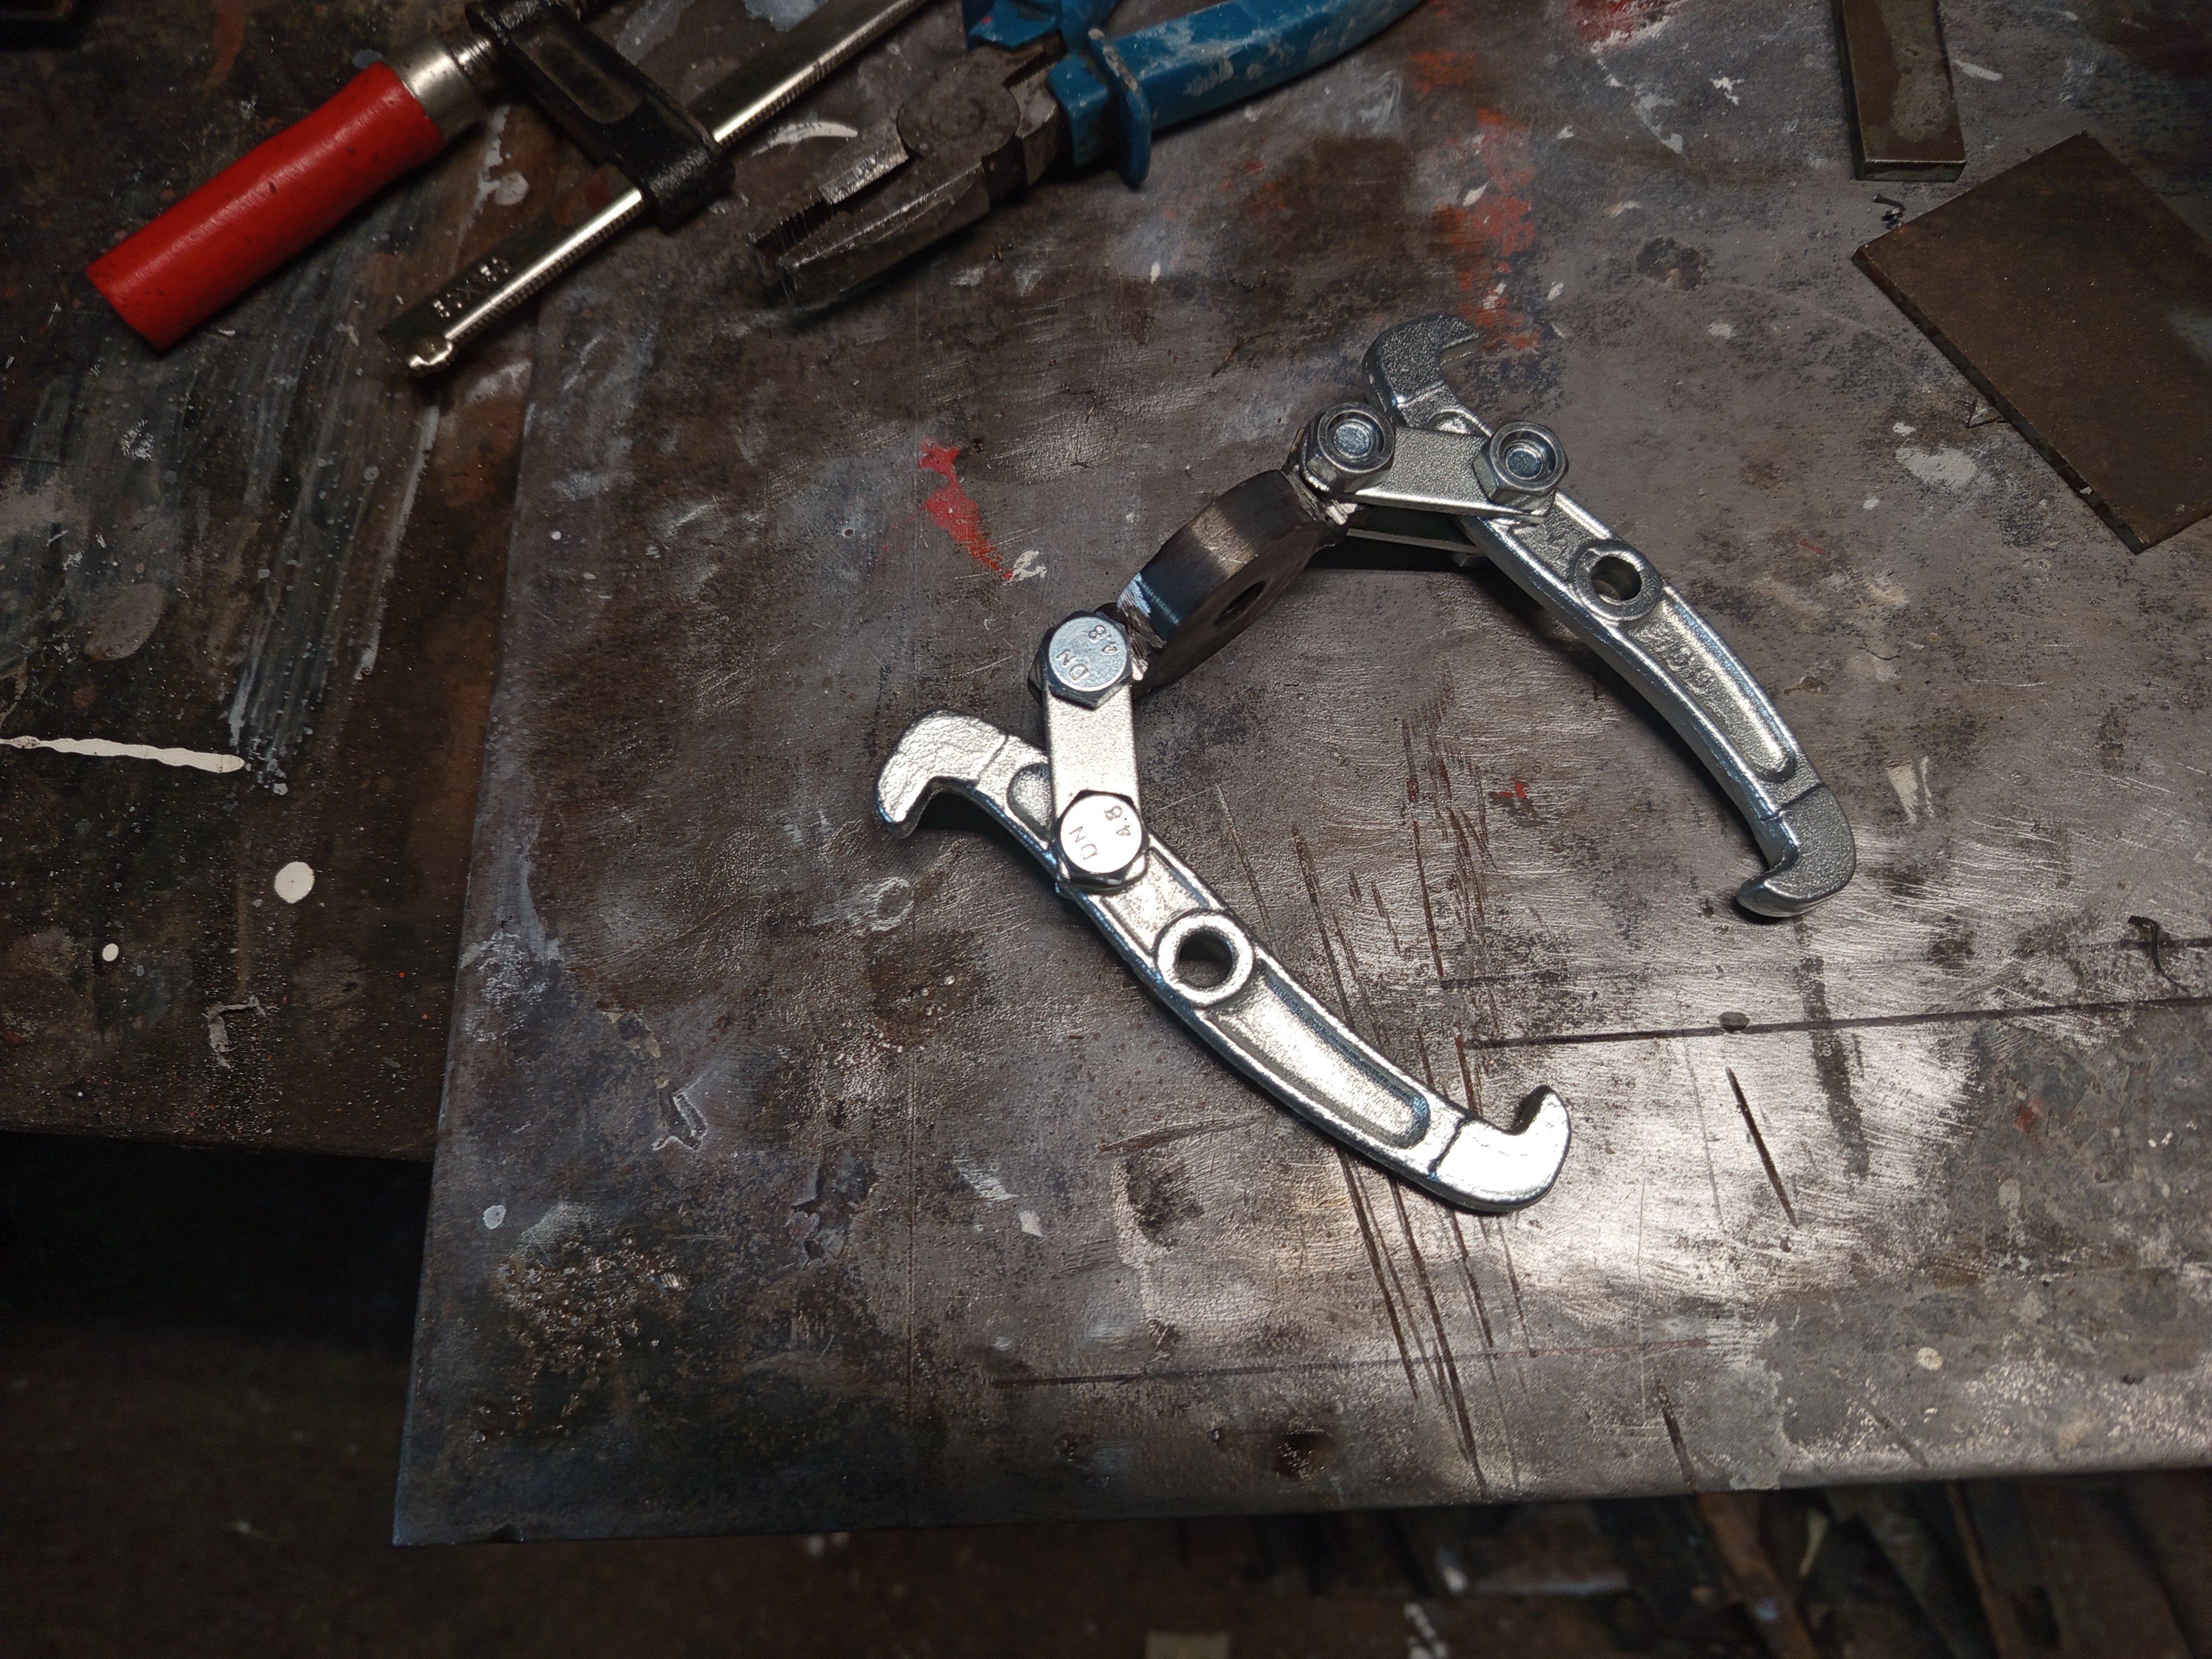
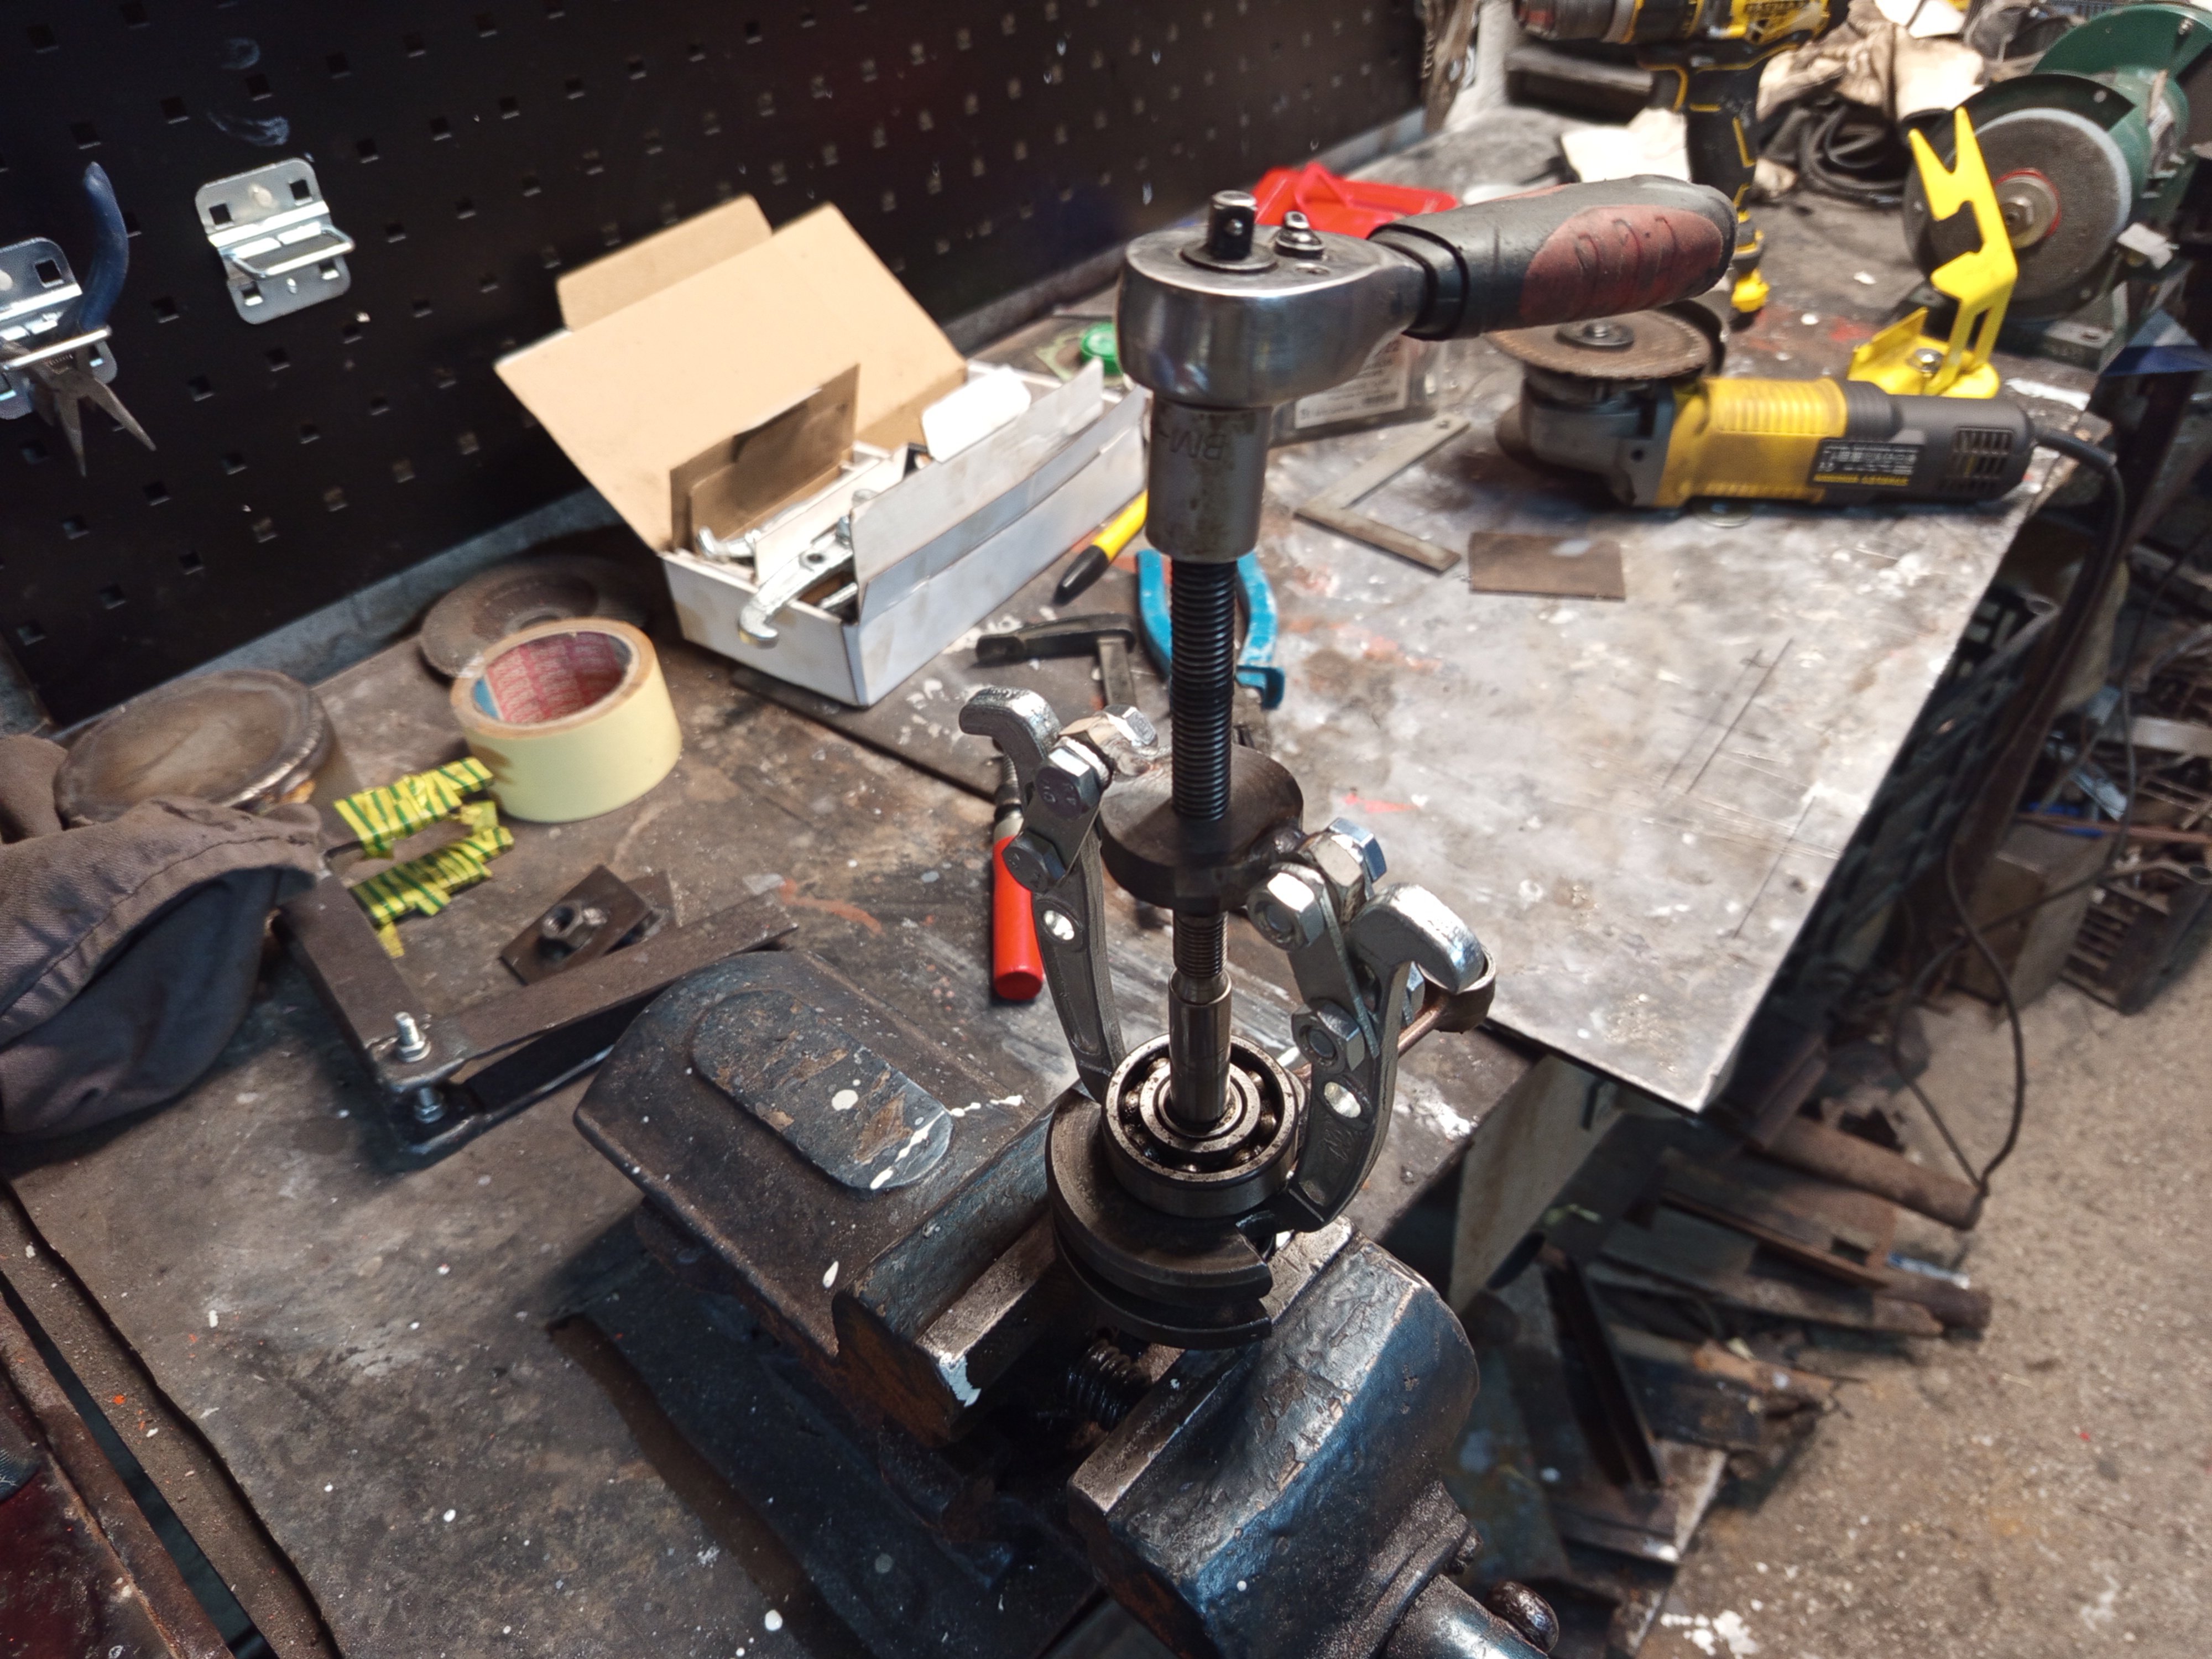
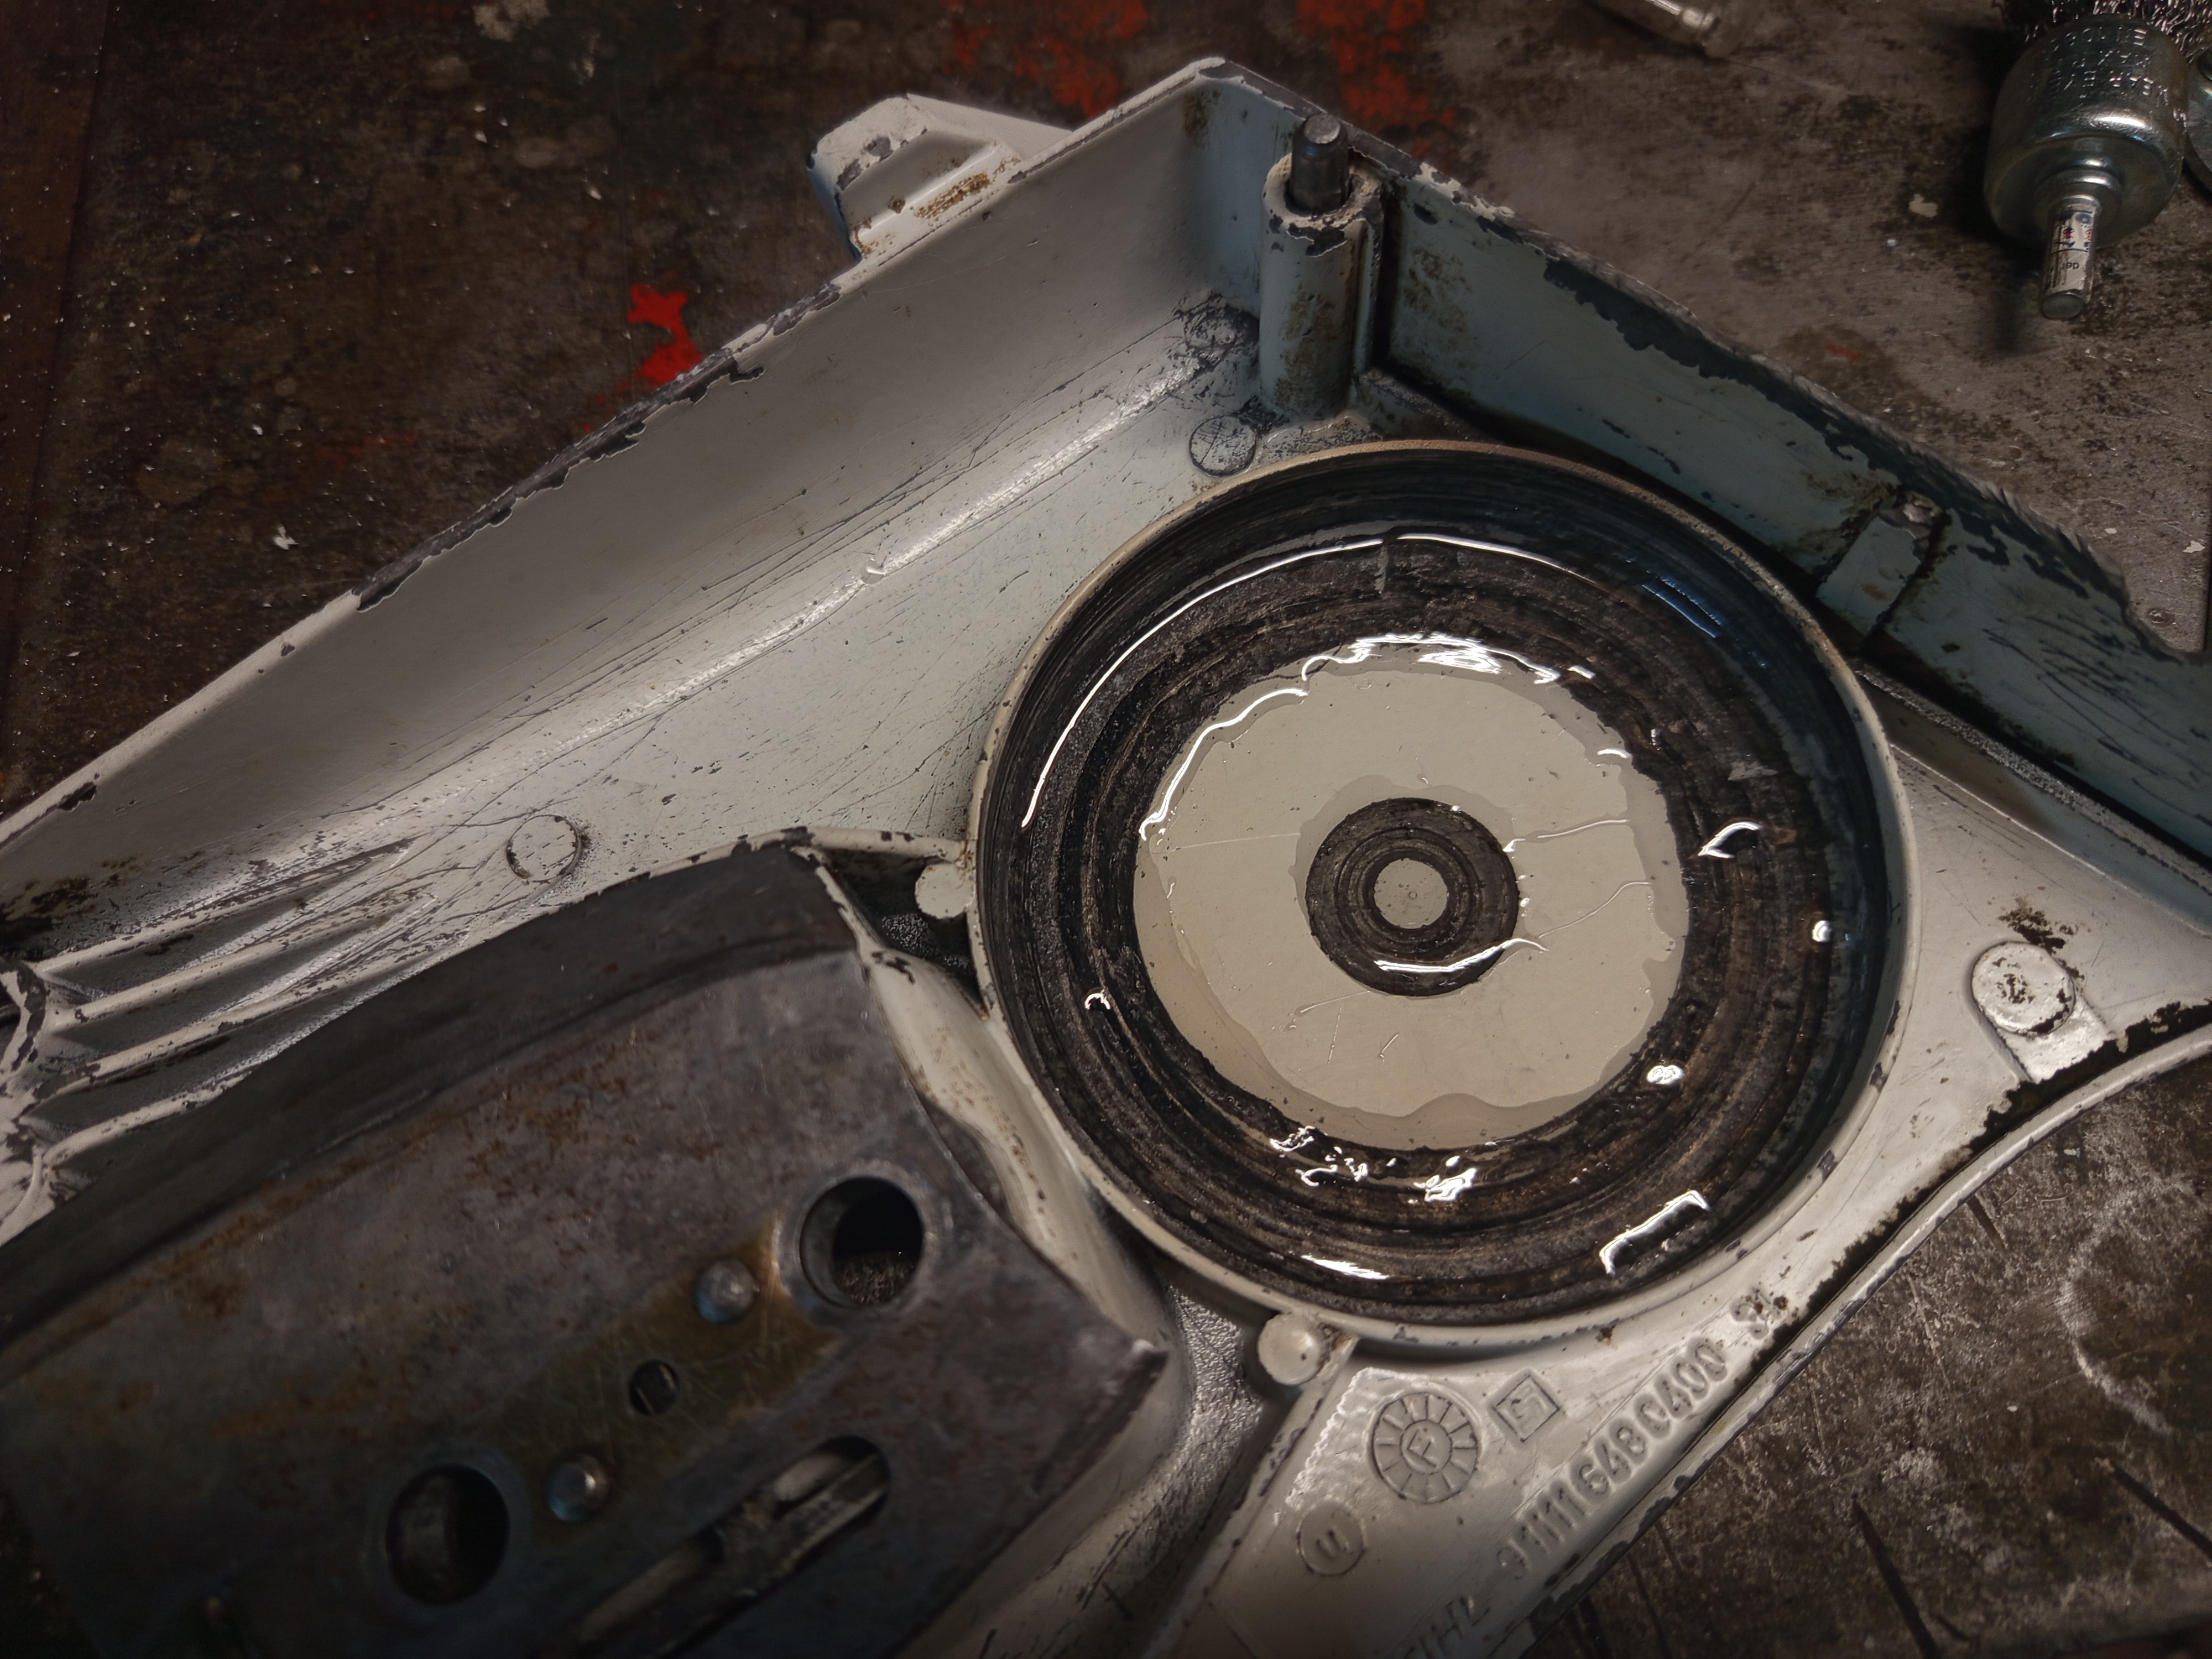
Before doing the cosmetics part, there was one more thing to take apart. The bearing remained on the cranckshaft, and had to be pulled off. Of course it’s not a big deal with a bearing puller, but a tiny problem is that I didn’t have the proper puller for this job. I have a set of those three arm bearing pullers, but of course you can’t fit all three arms under the bearing here, what’s needed is a two arm puller.

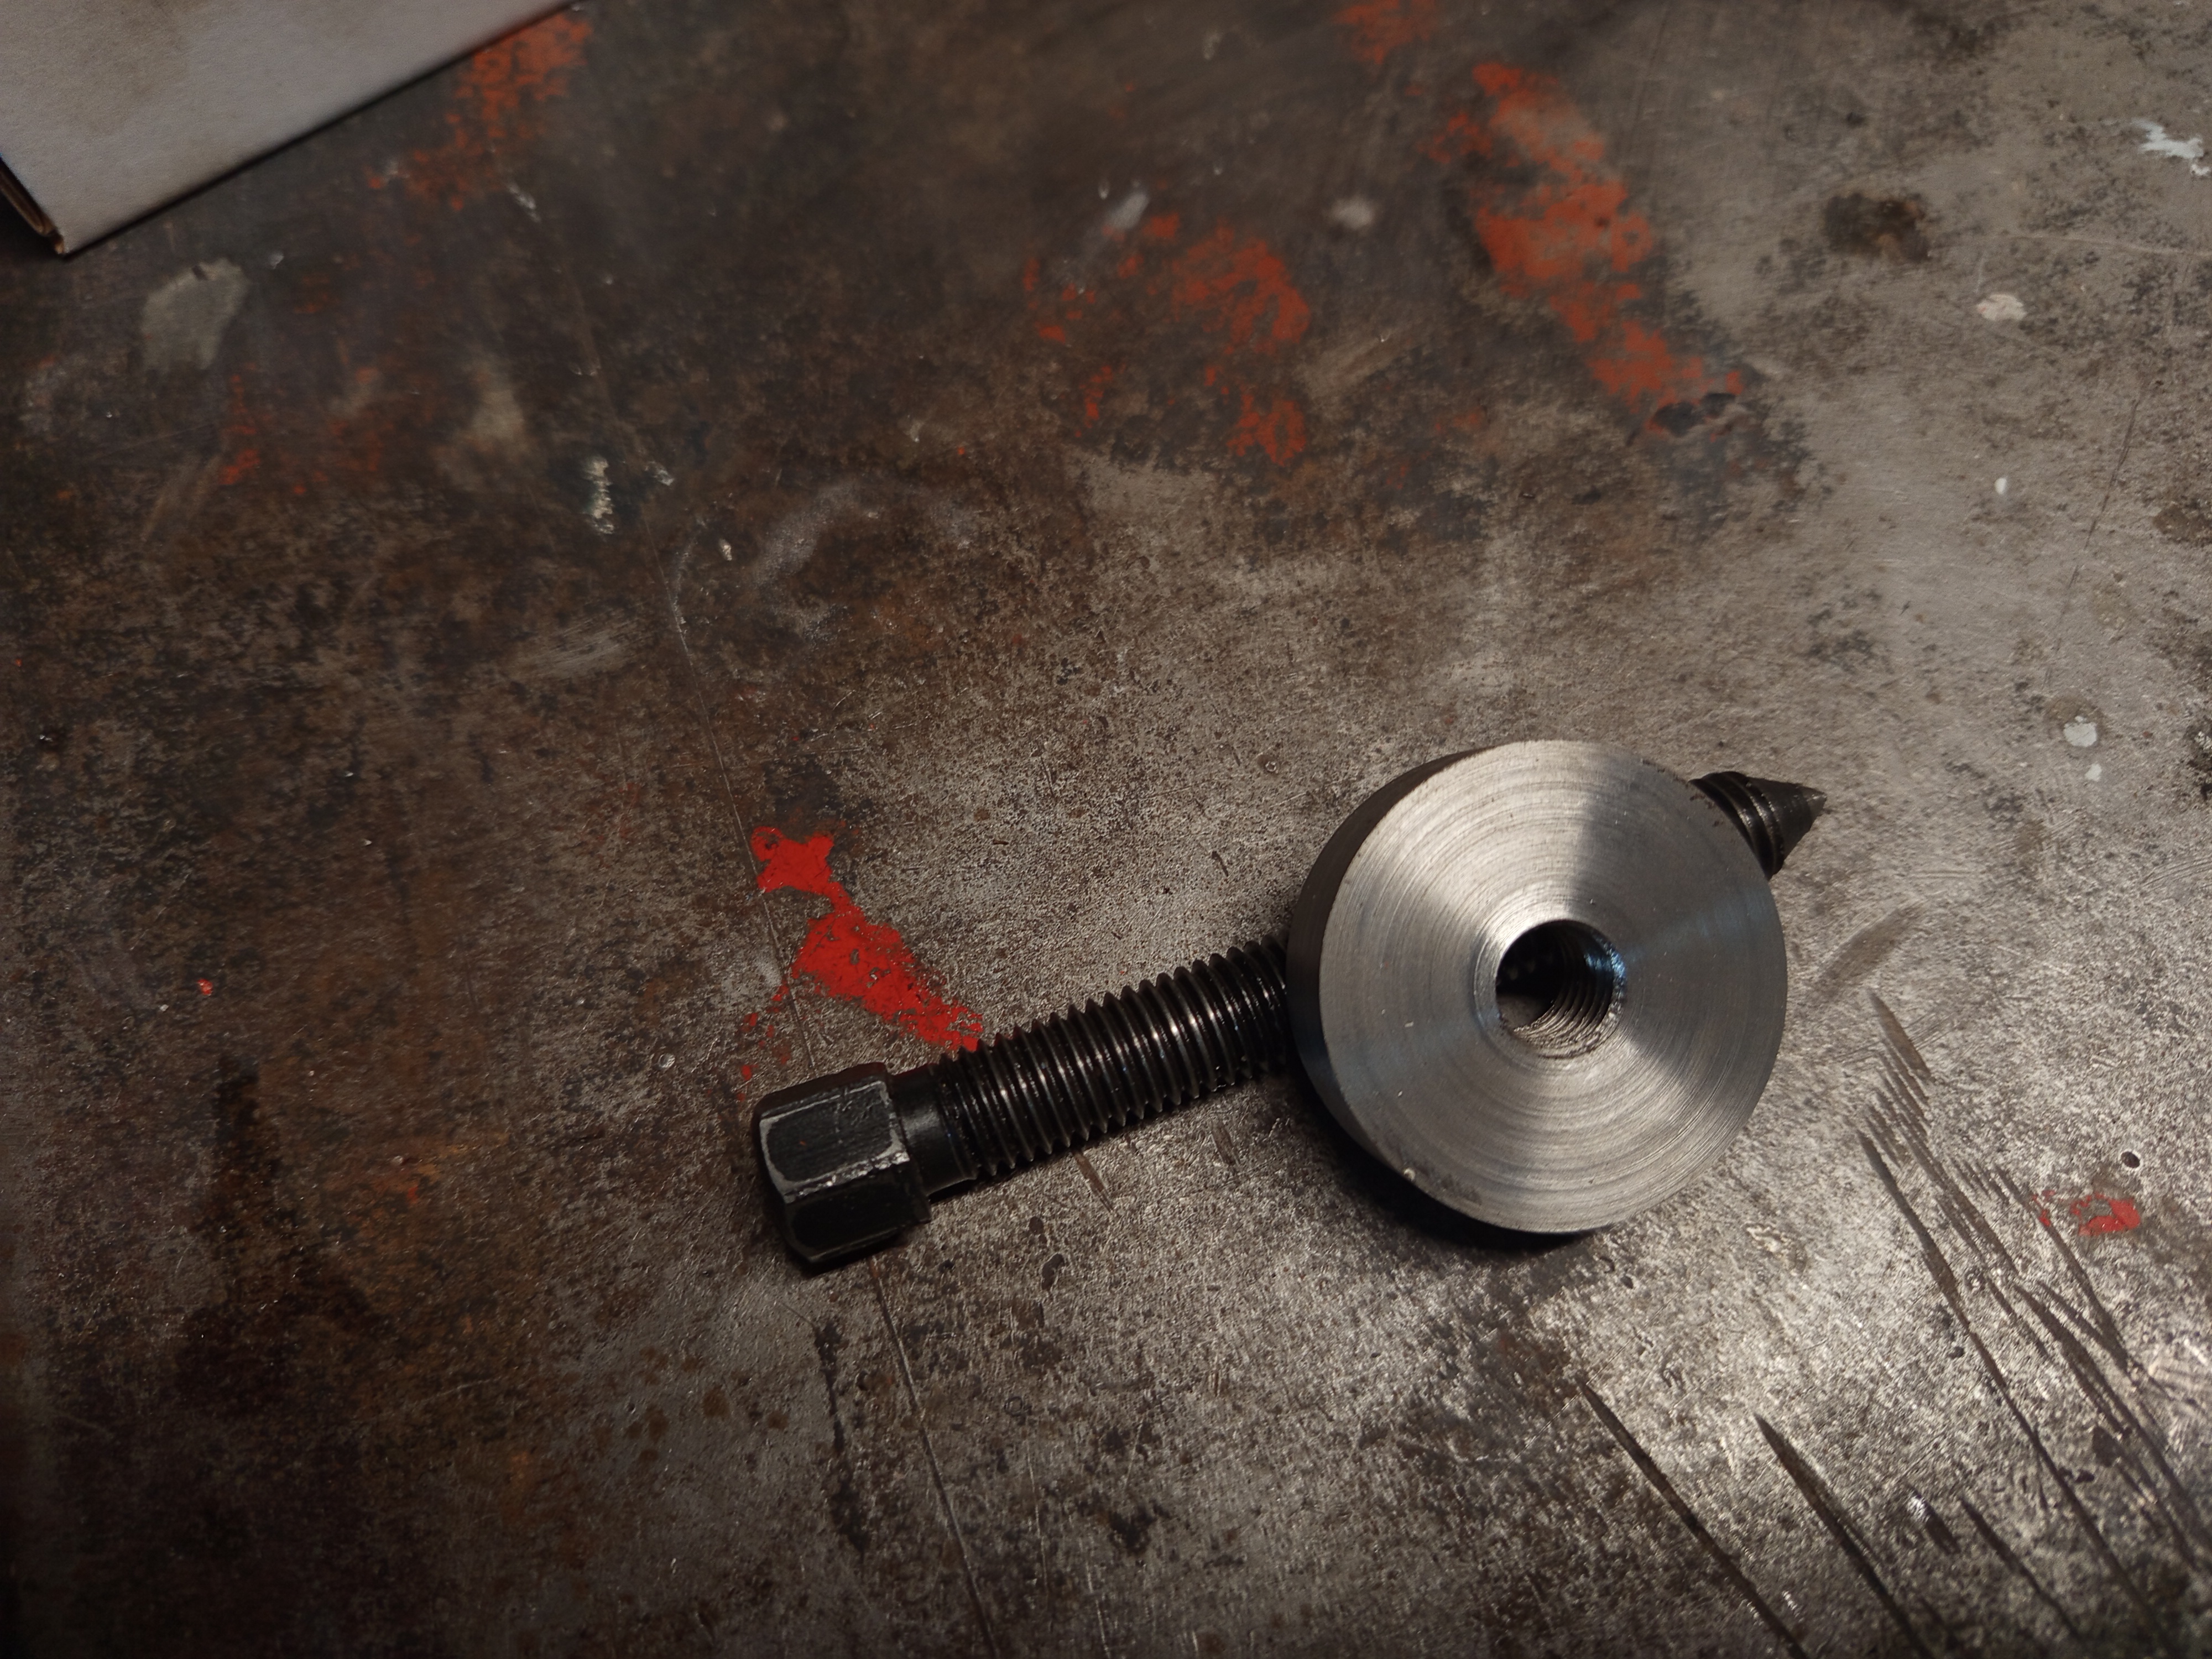
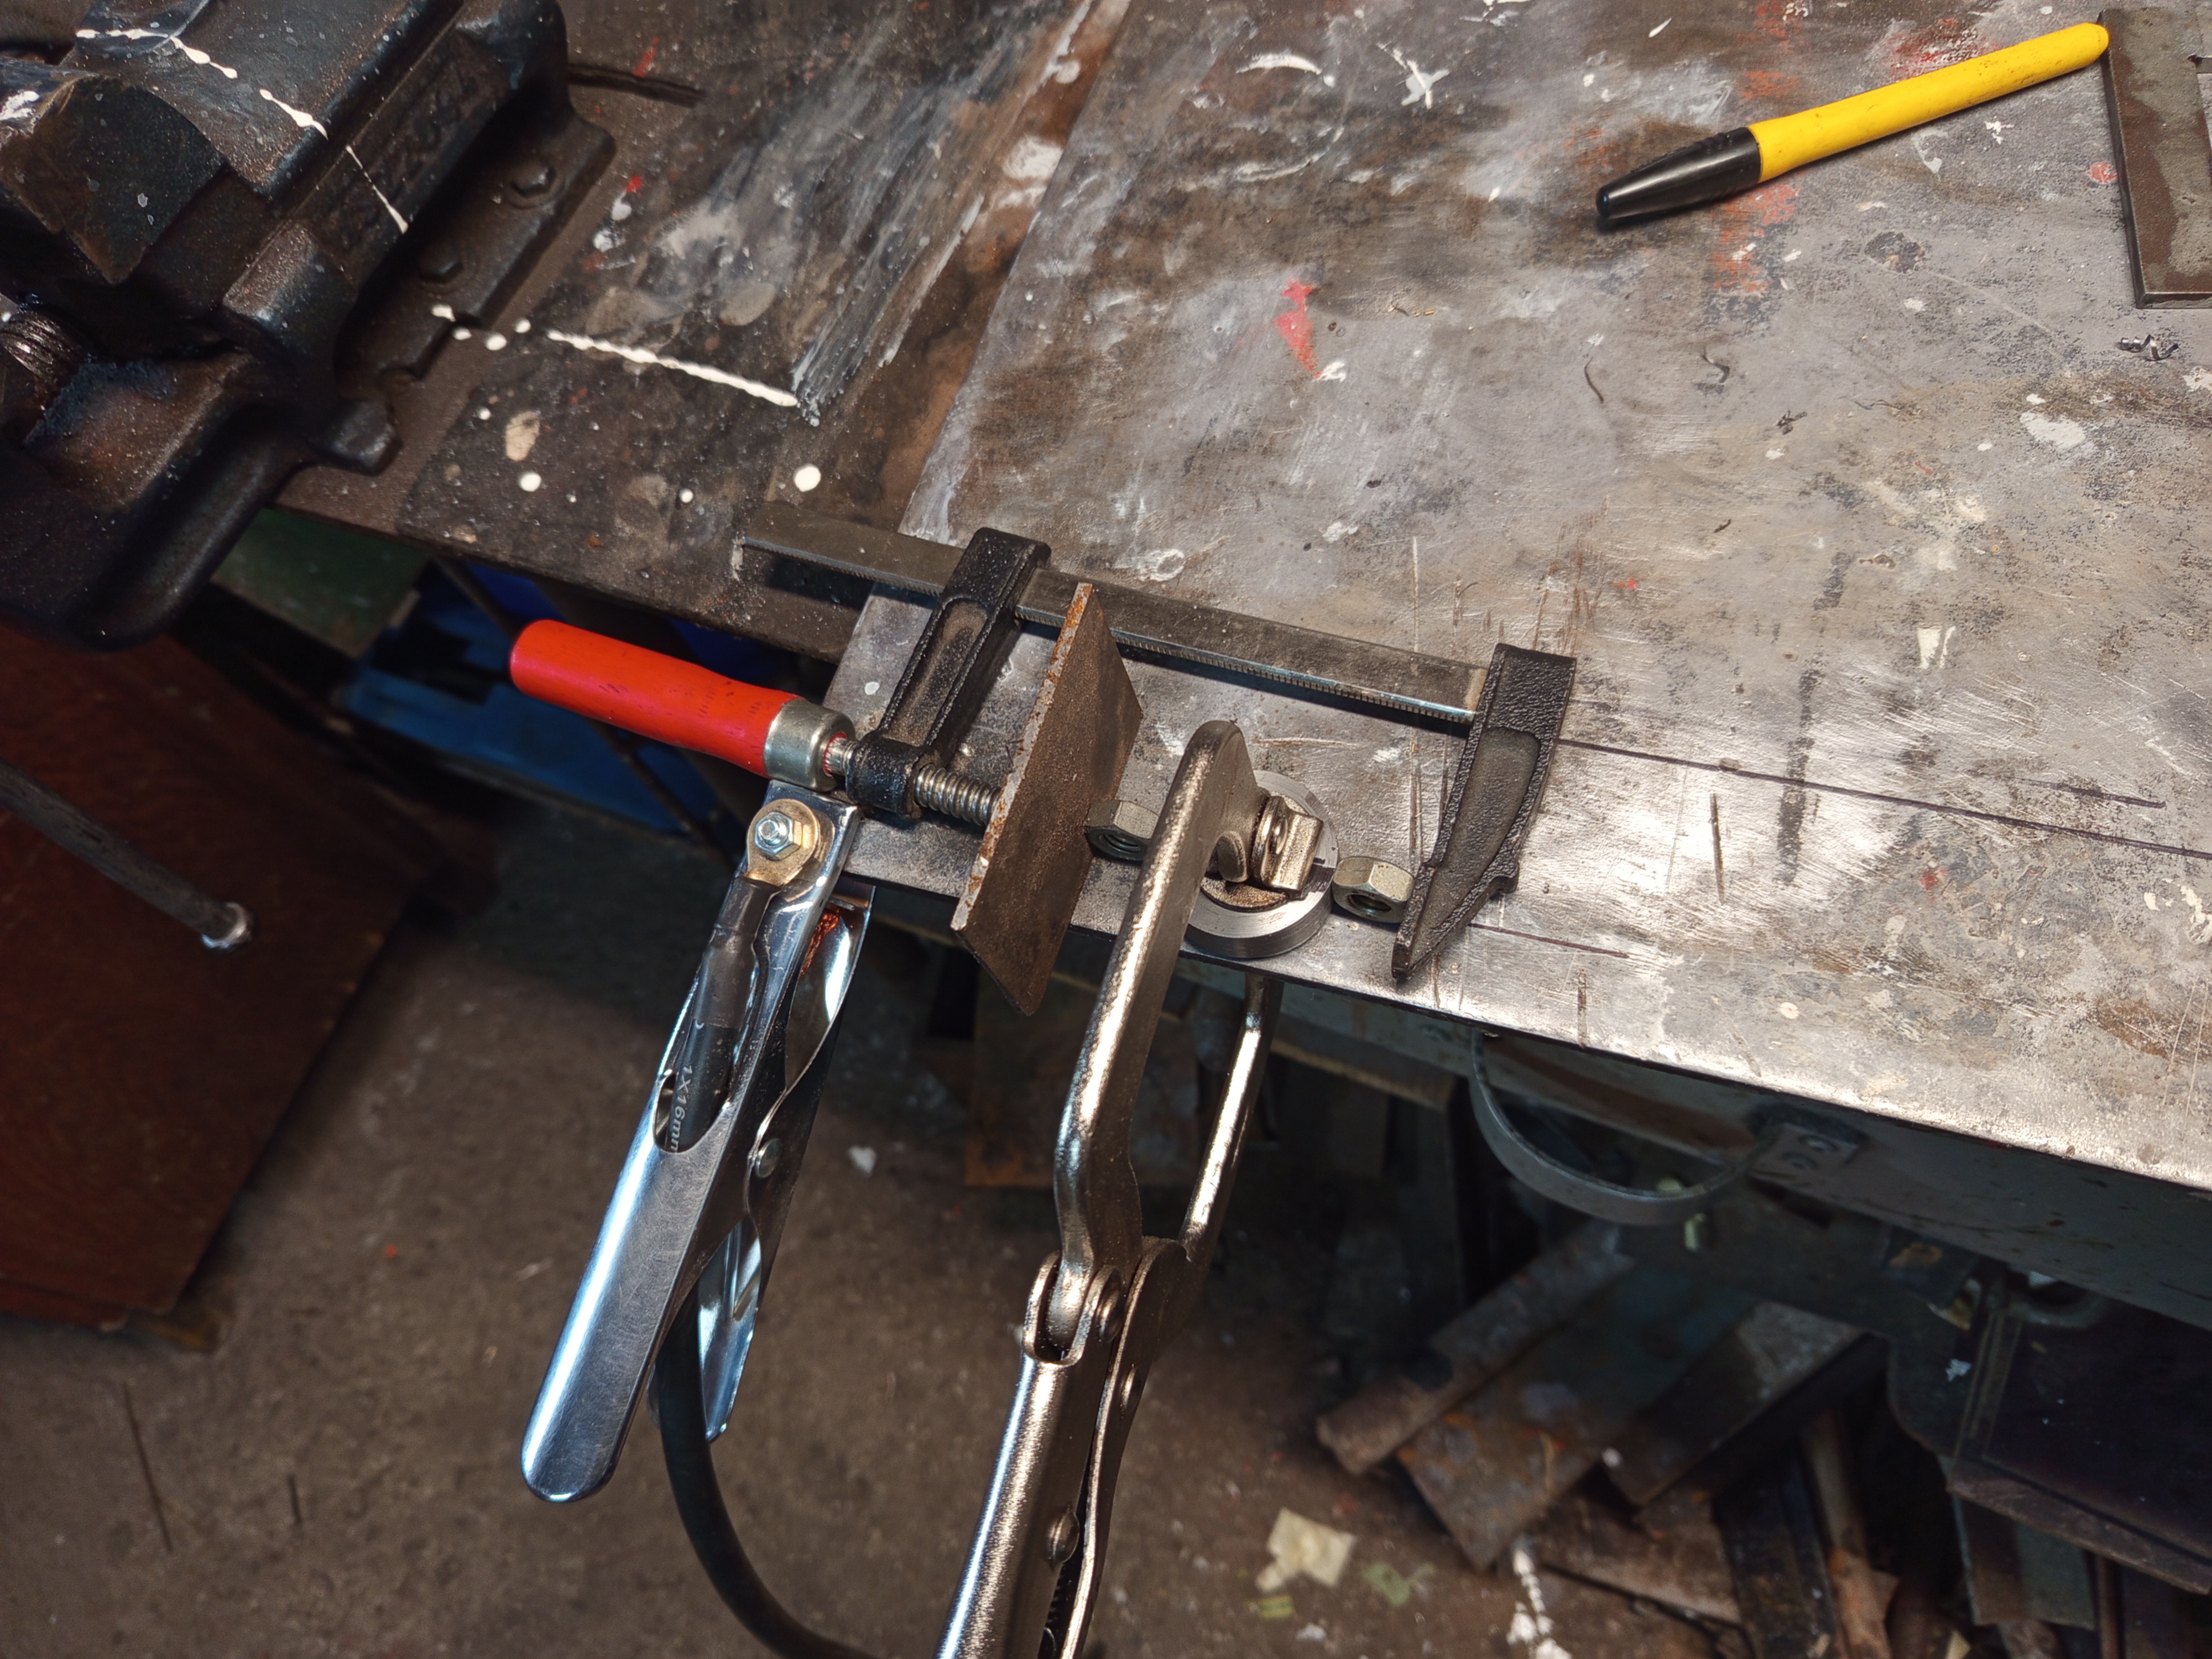
But with a small modification I could reuse it. I used a leftover round bar, faced it and tapped an M12 thread in it, and welded two nuts on it. And that’s my crude two arm puller, not nice, but it worked as needed.
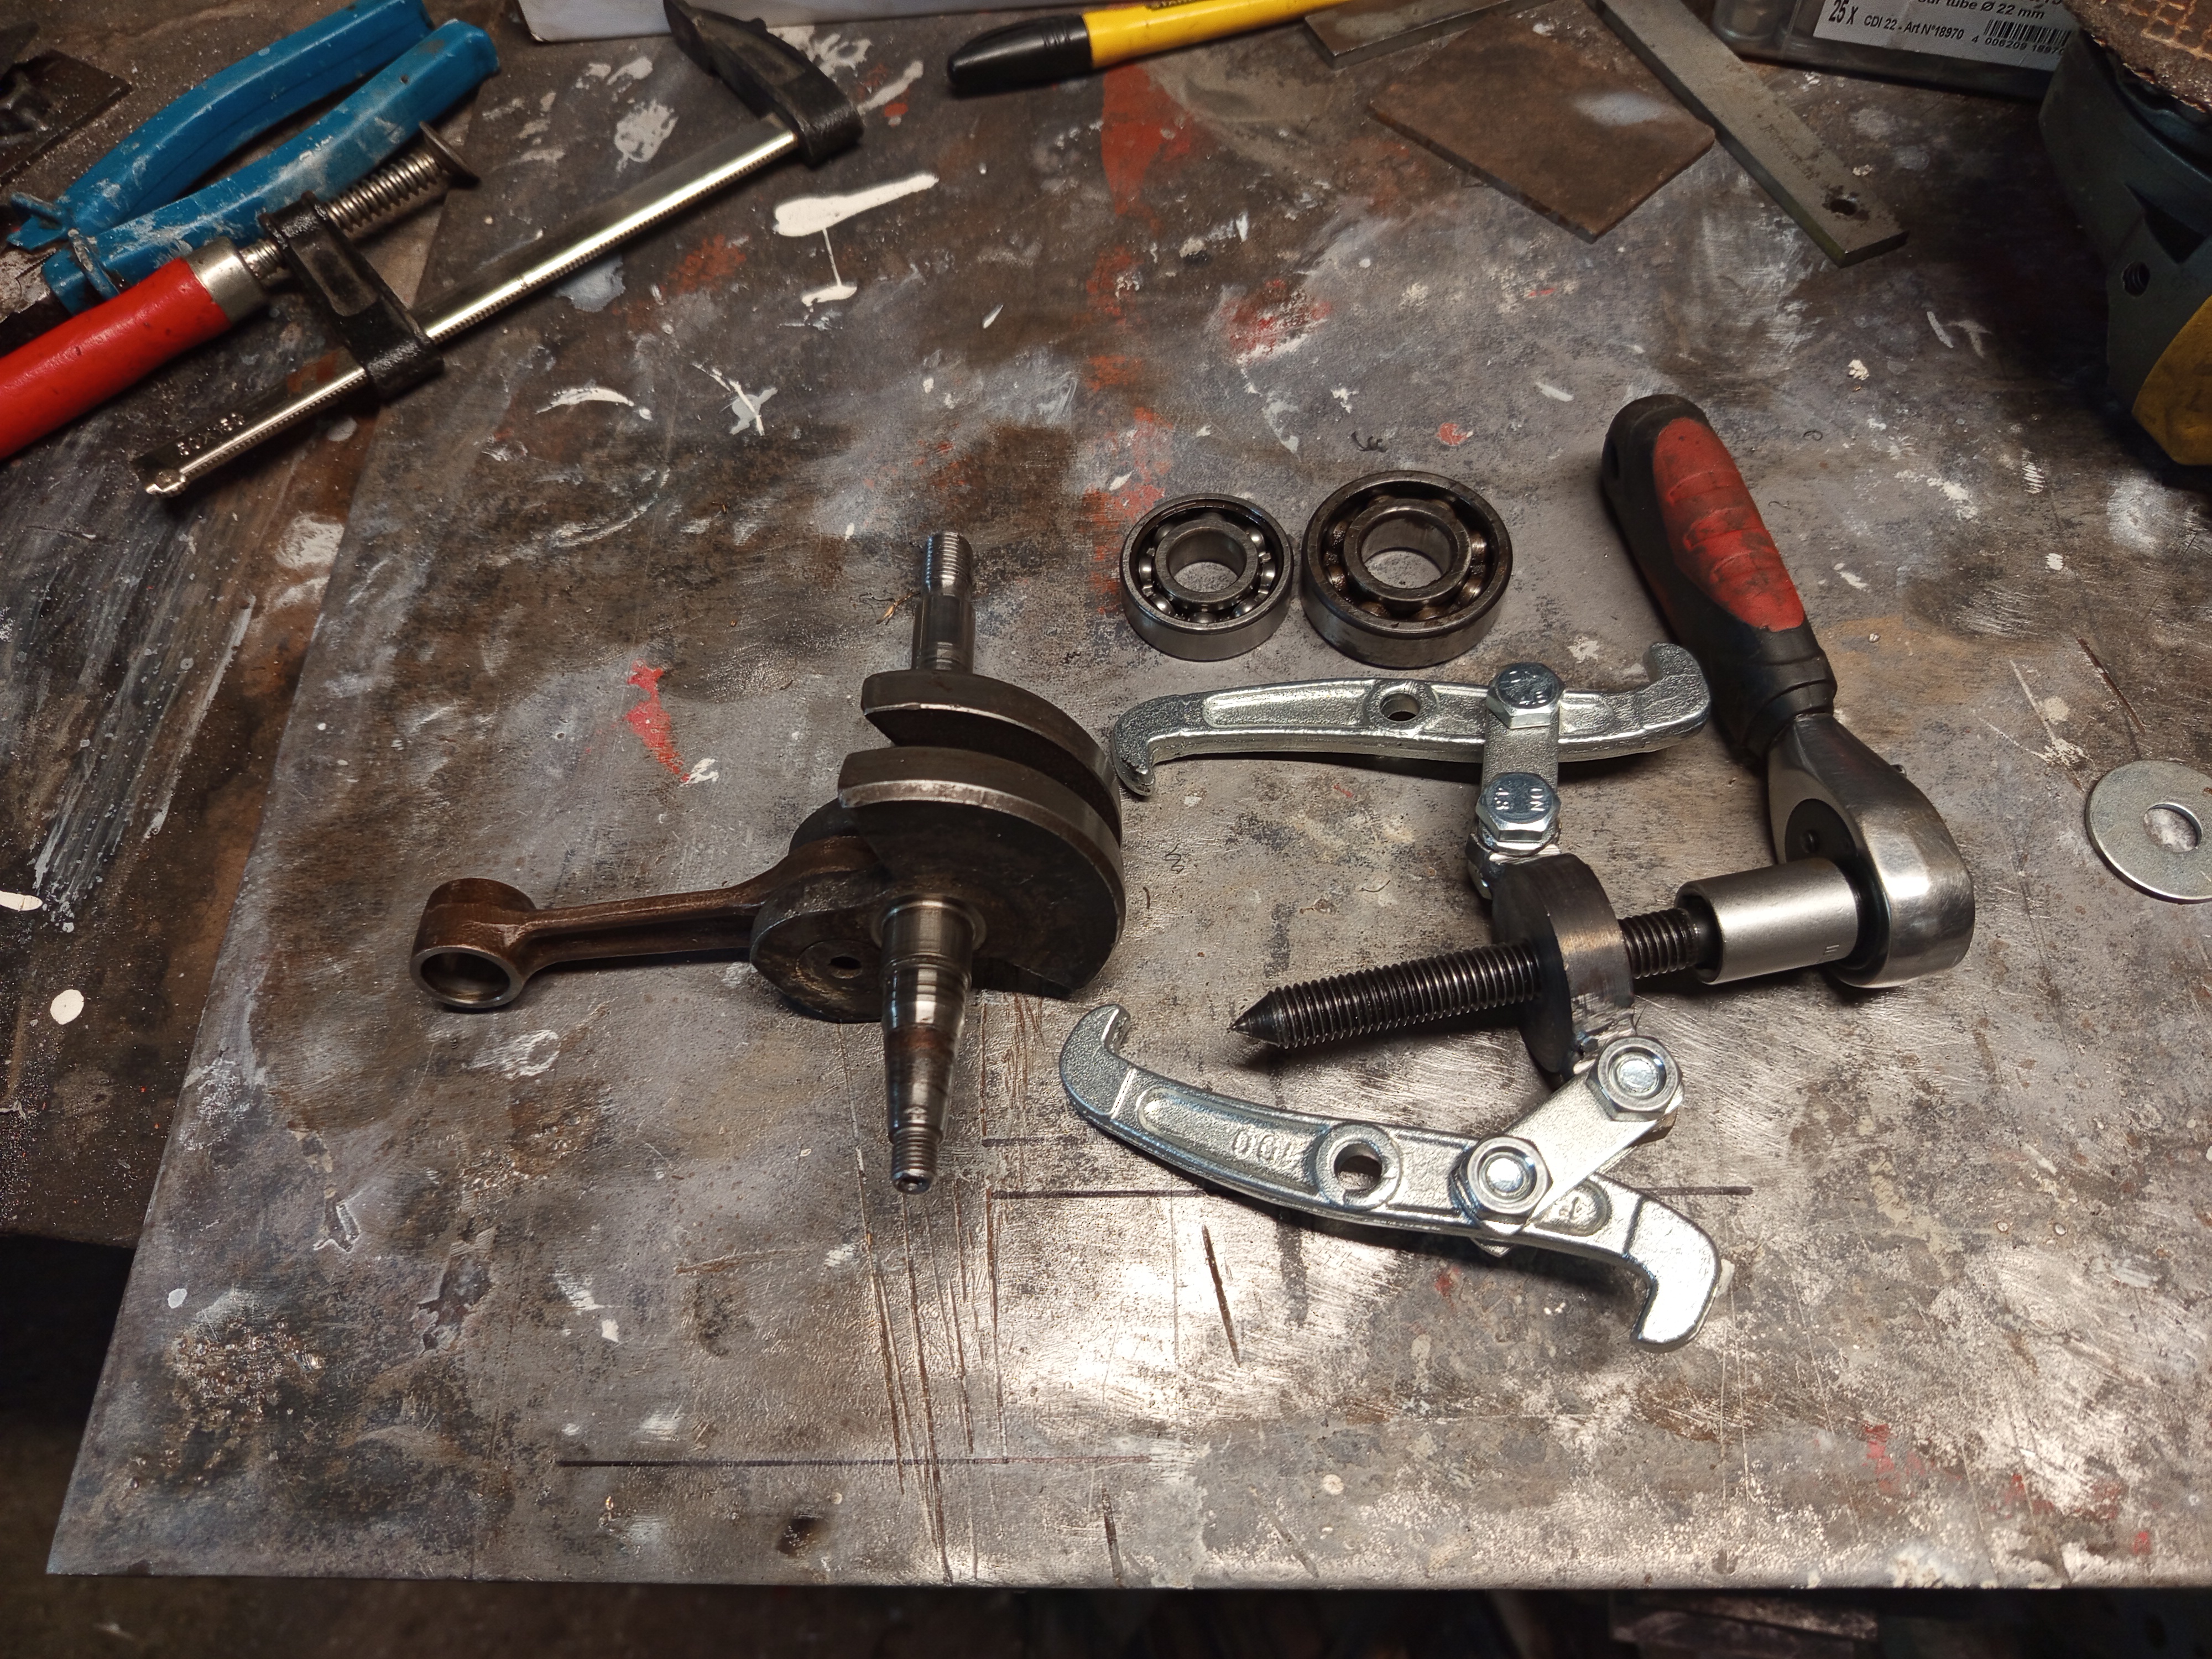
Now I can say that everything is taken apart!
Preparation
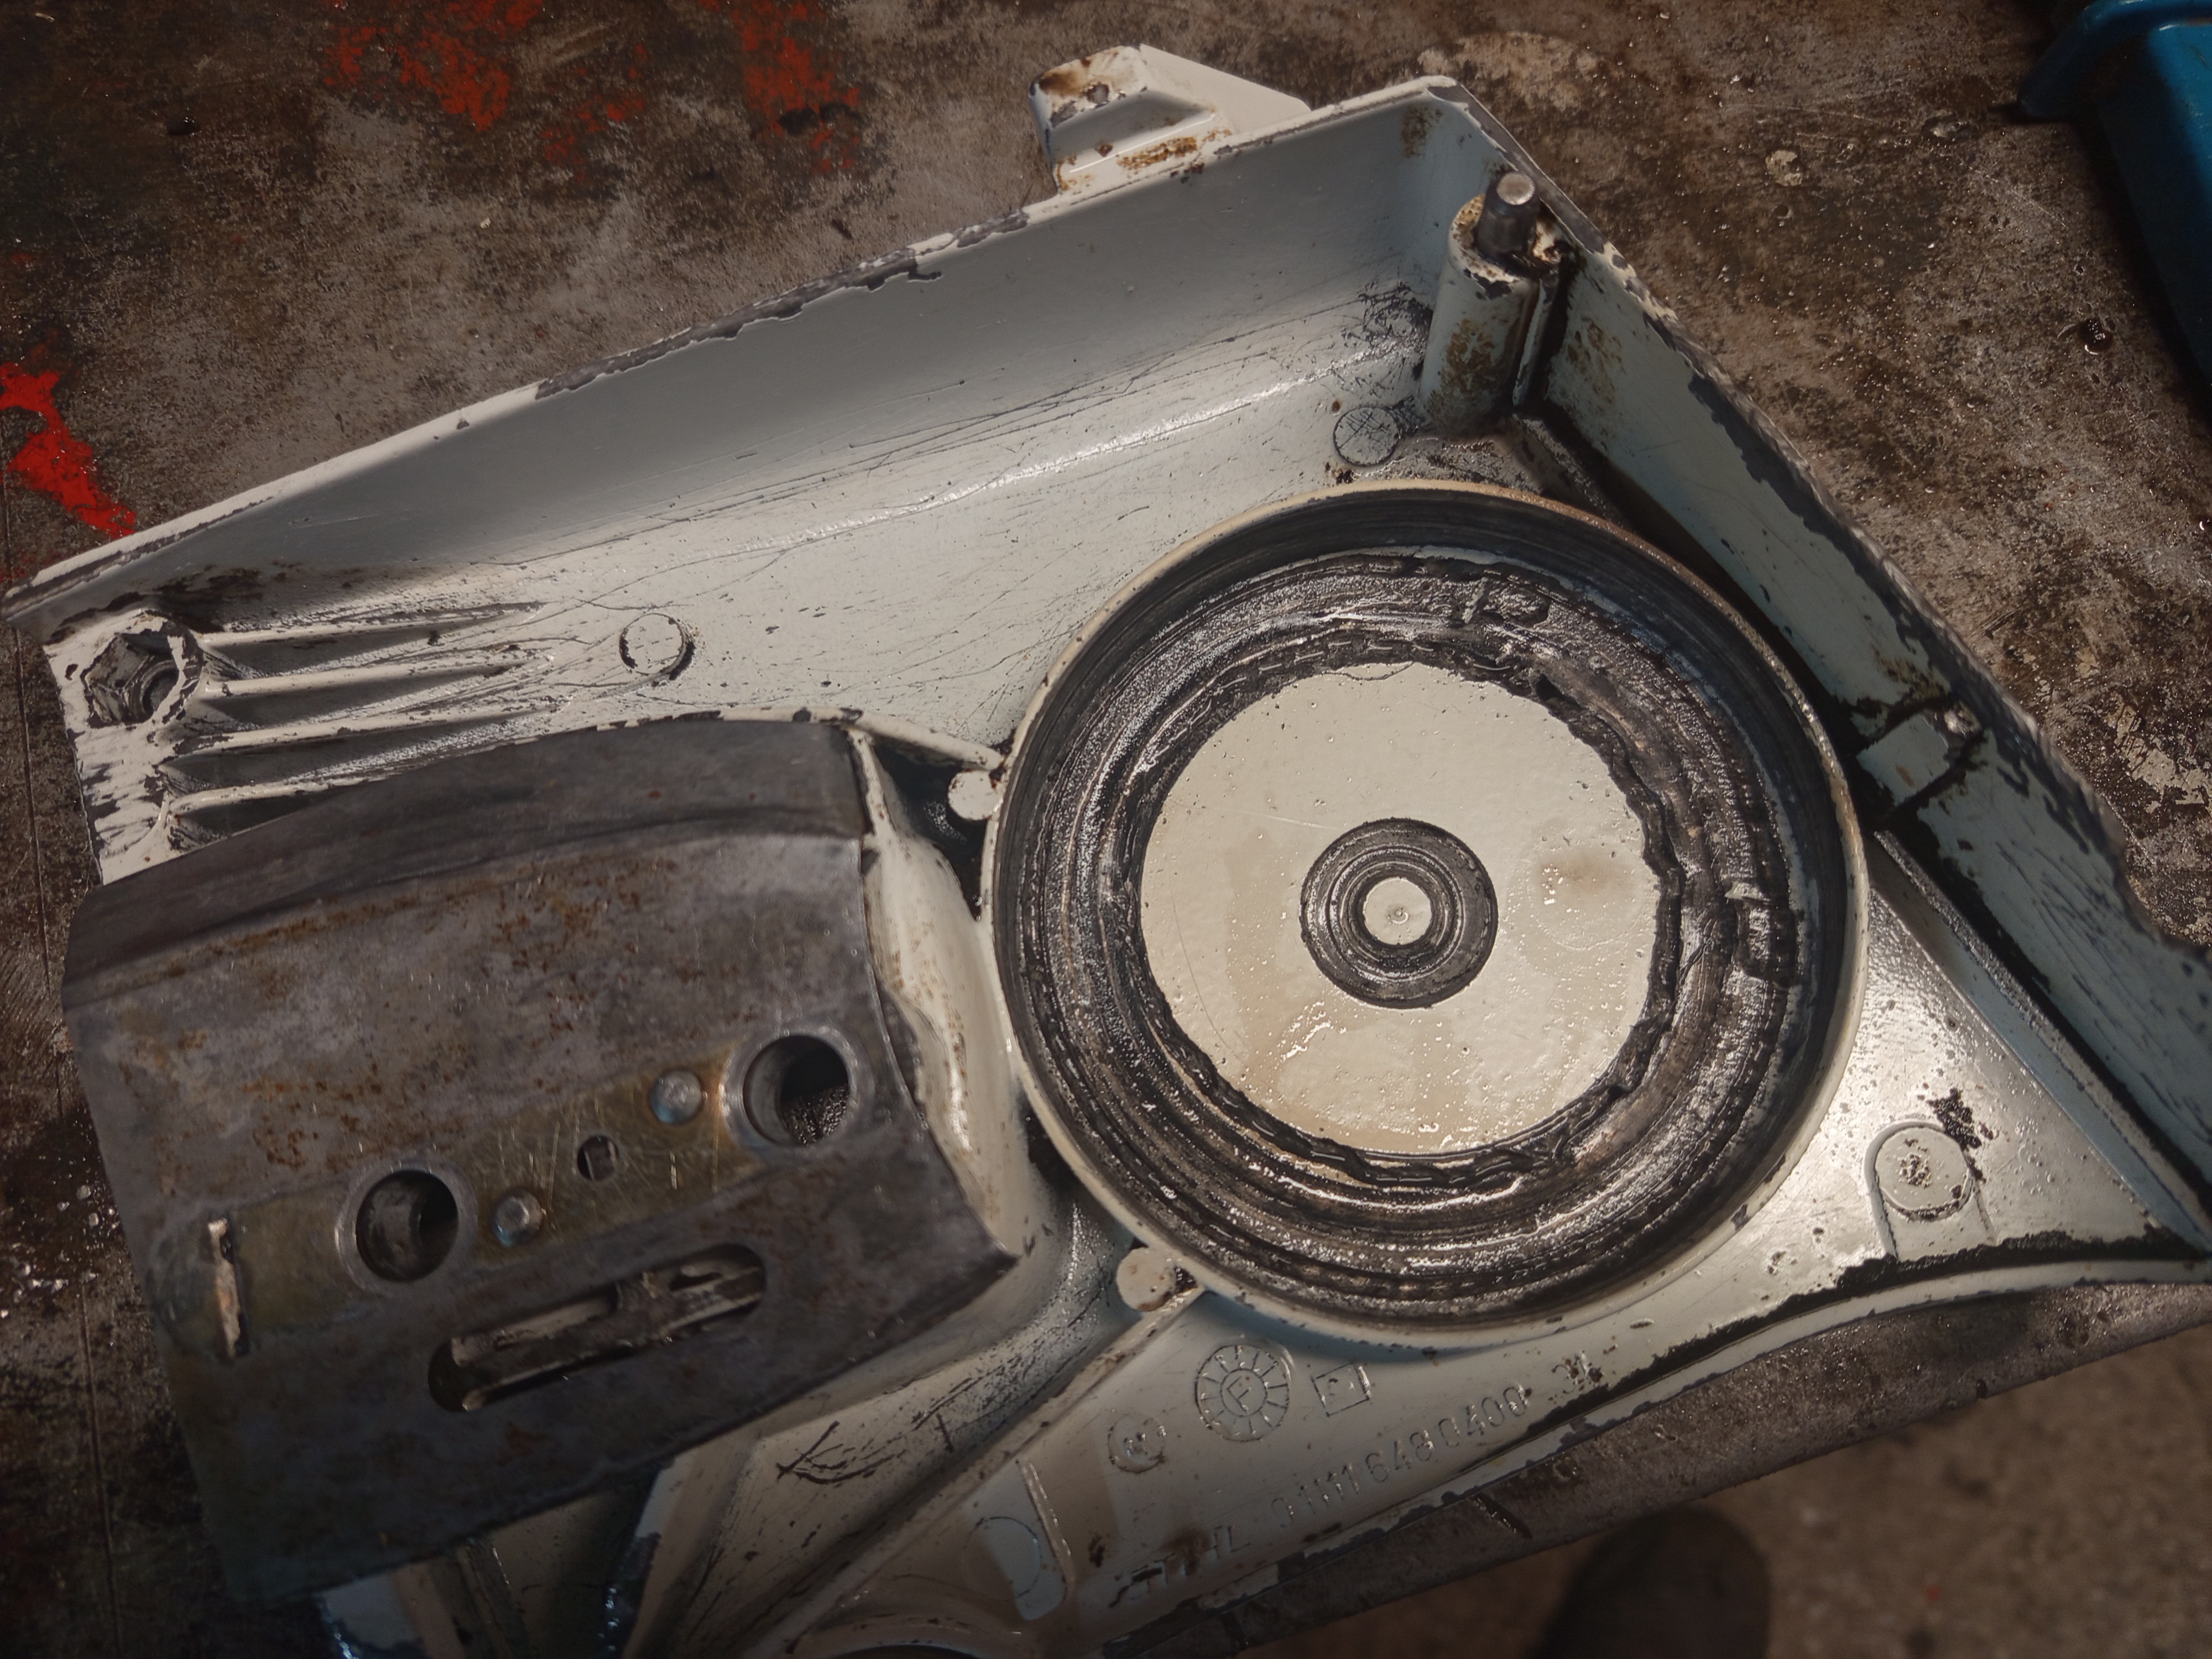
Of course it’s a work machine, and has many scratches and dings, removing them is totally unnecessary for a chainsaw IMO, the only damage that looked bad is on the clutch cover. It looks like the clutch unwound and machined out the material, and thinned it so much that there were some small holes on it.
I wanted to save this part, so my idea was to fill up those deep groves and holes with a good amount of epoxy.
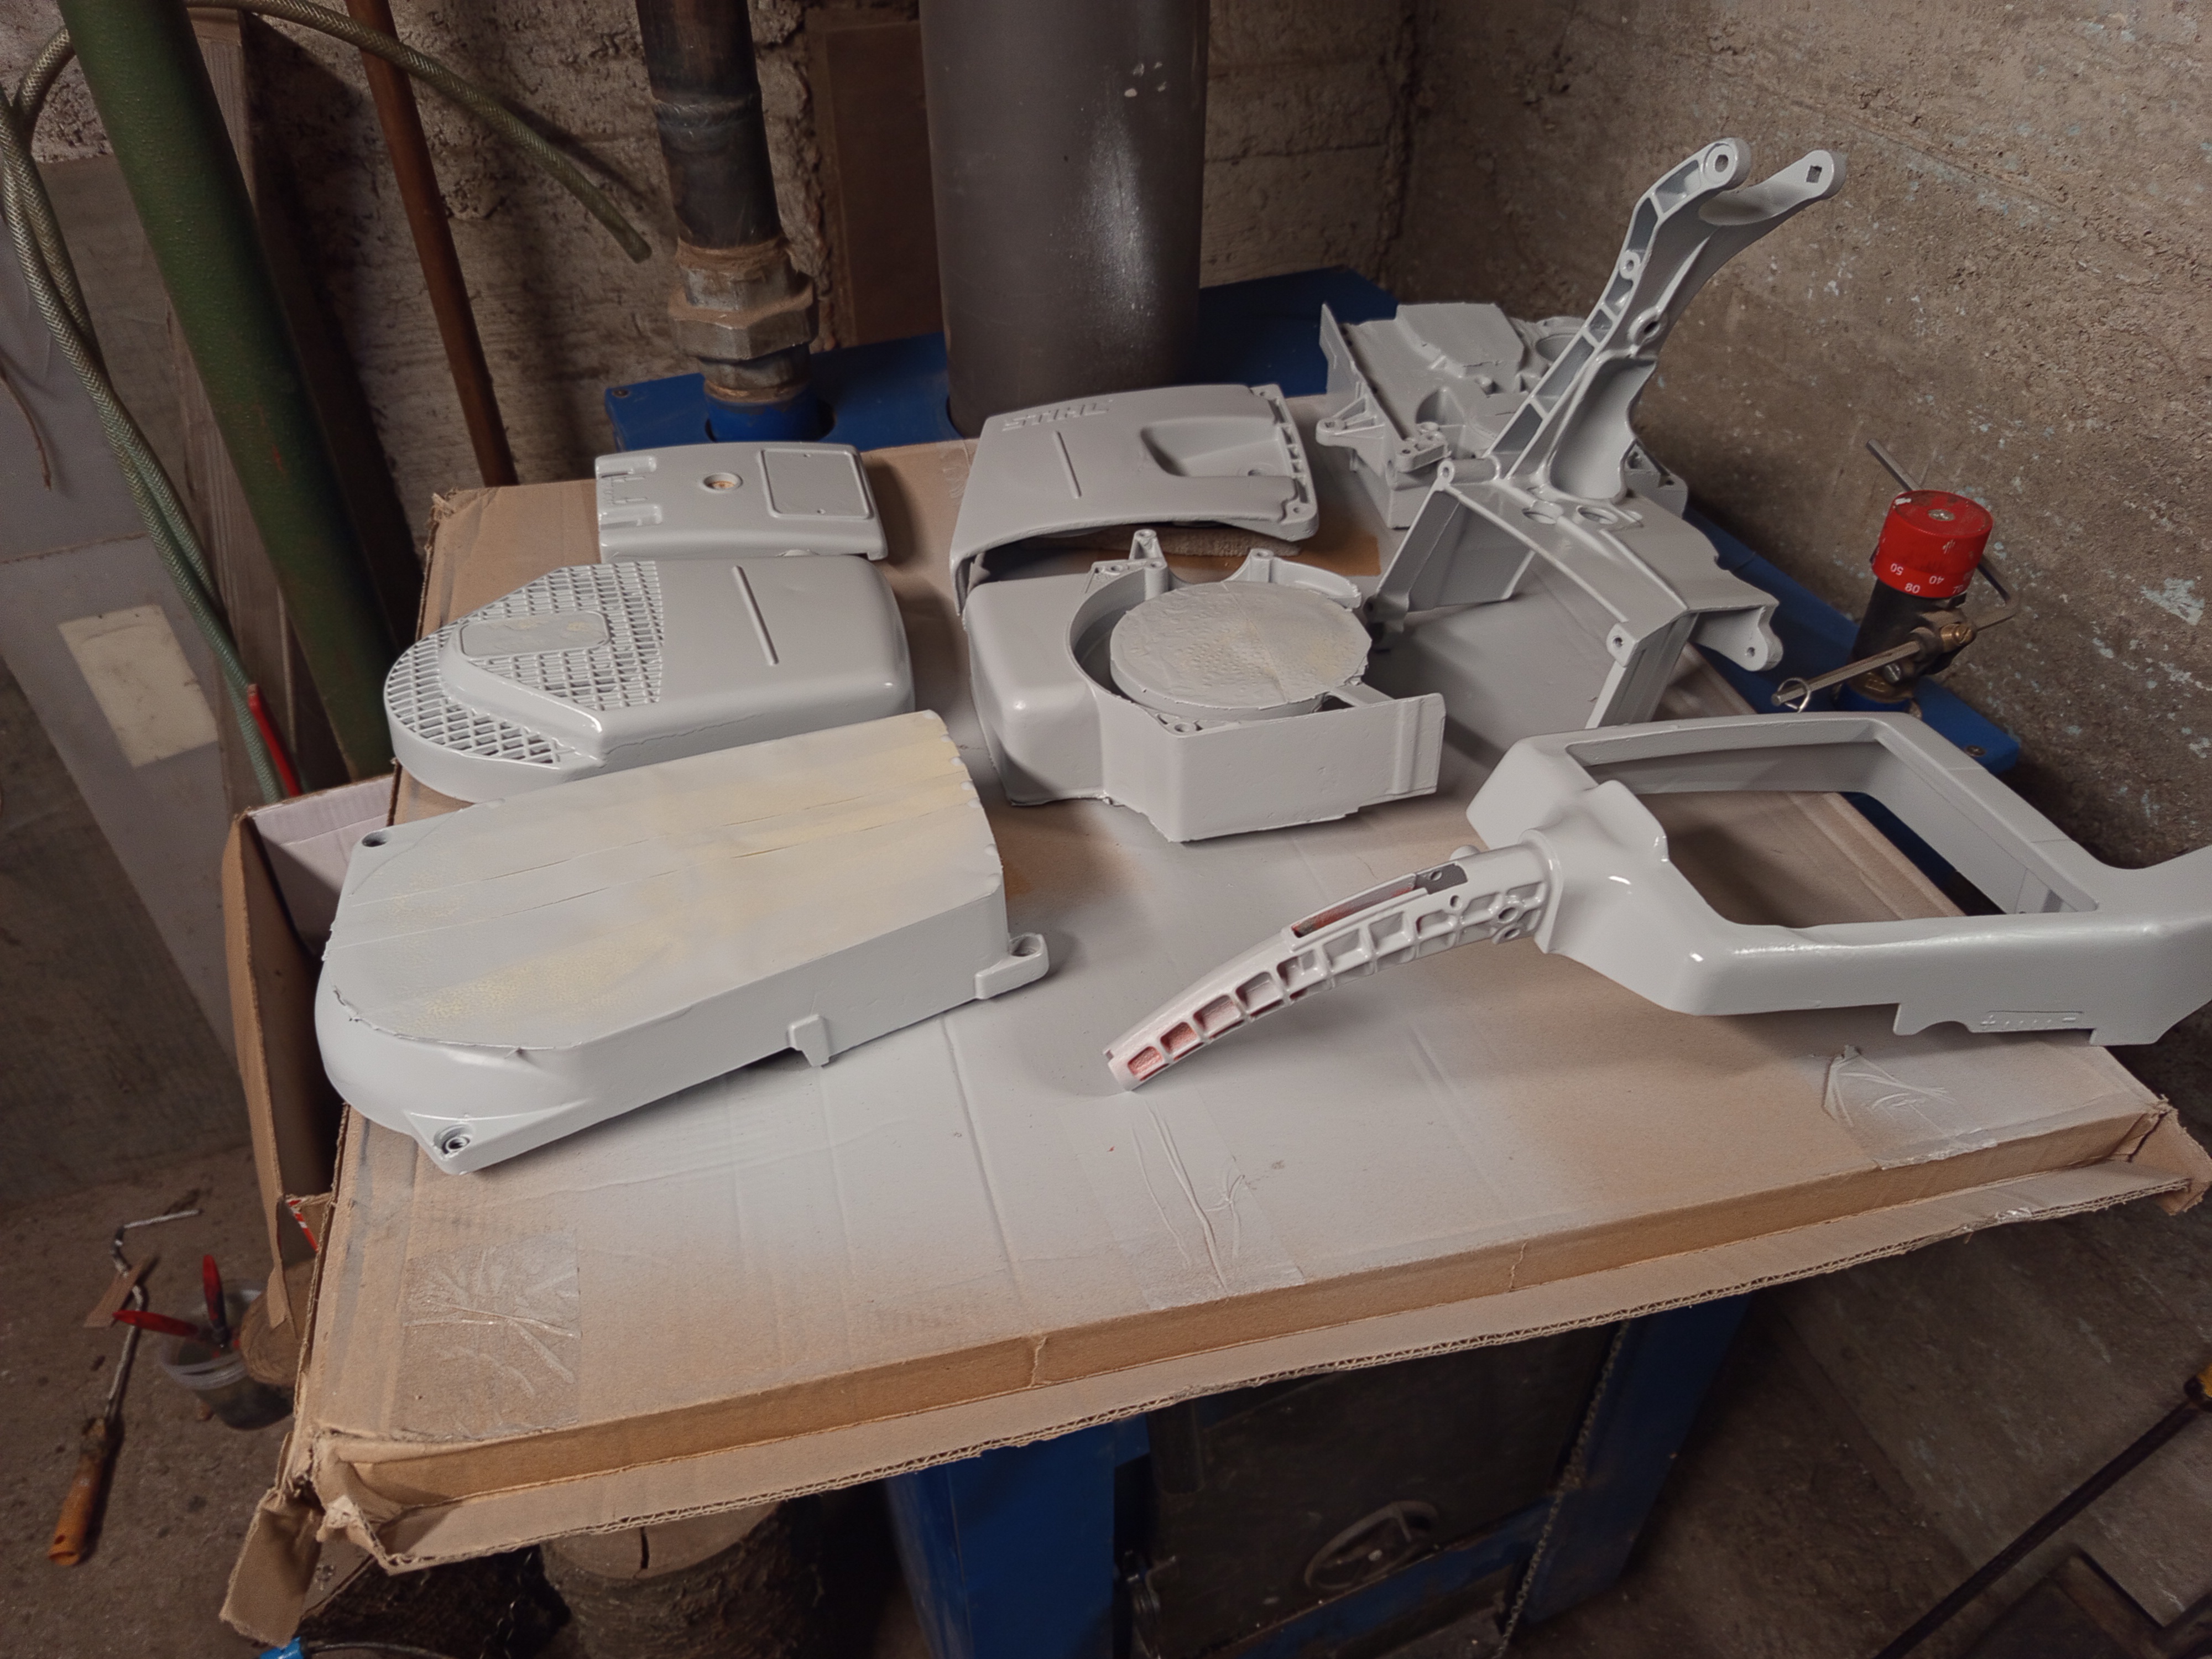
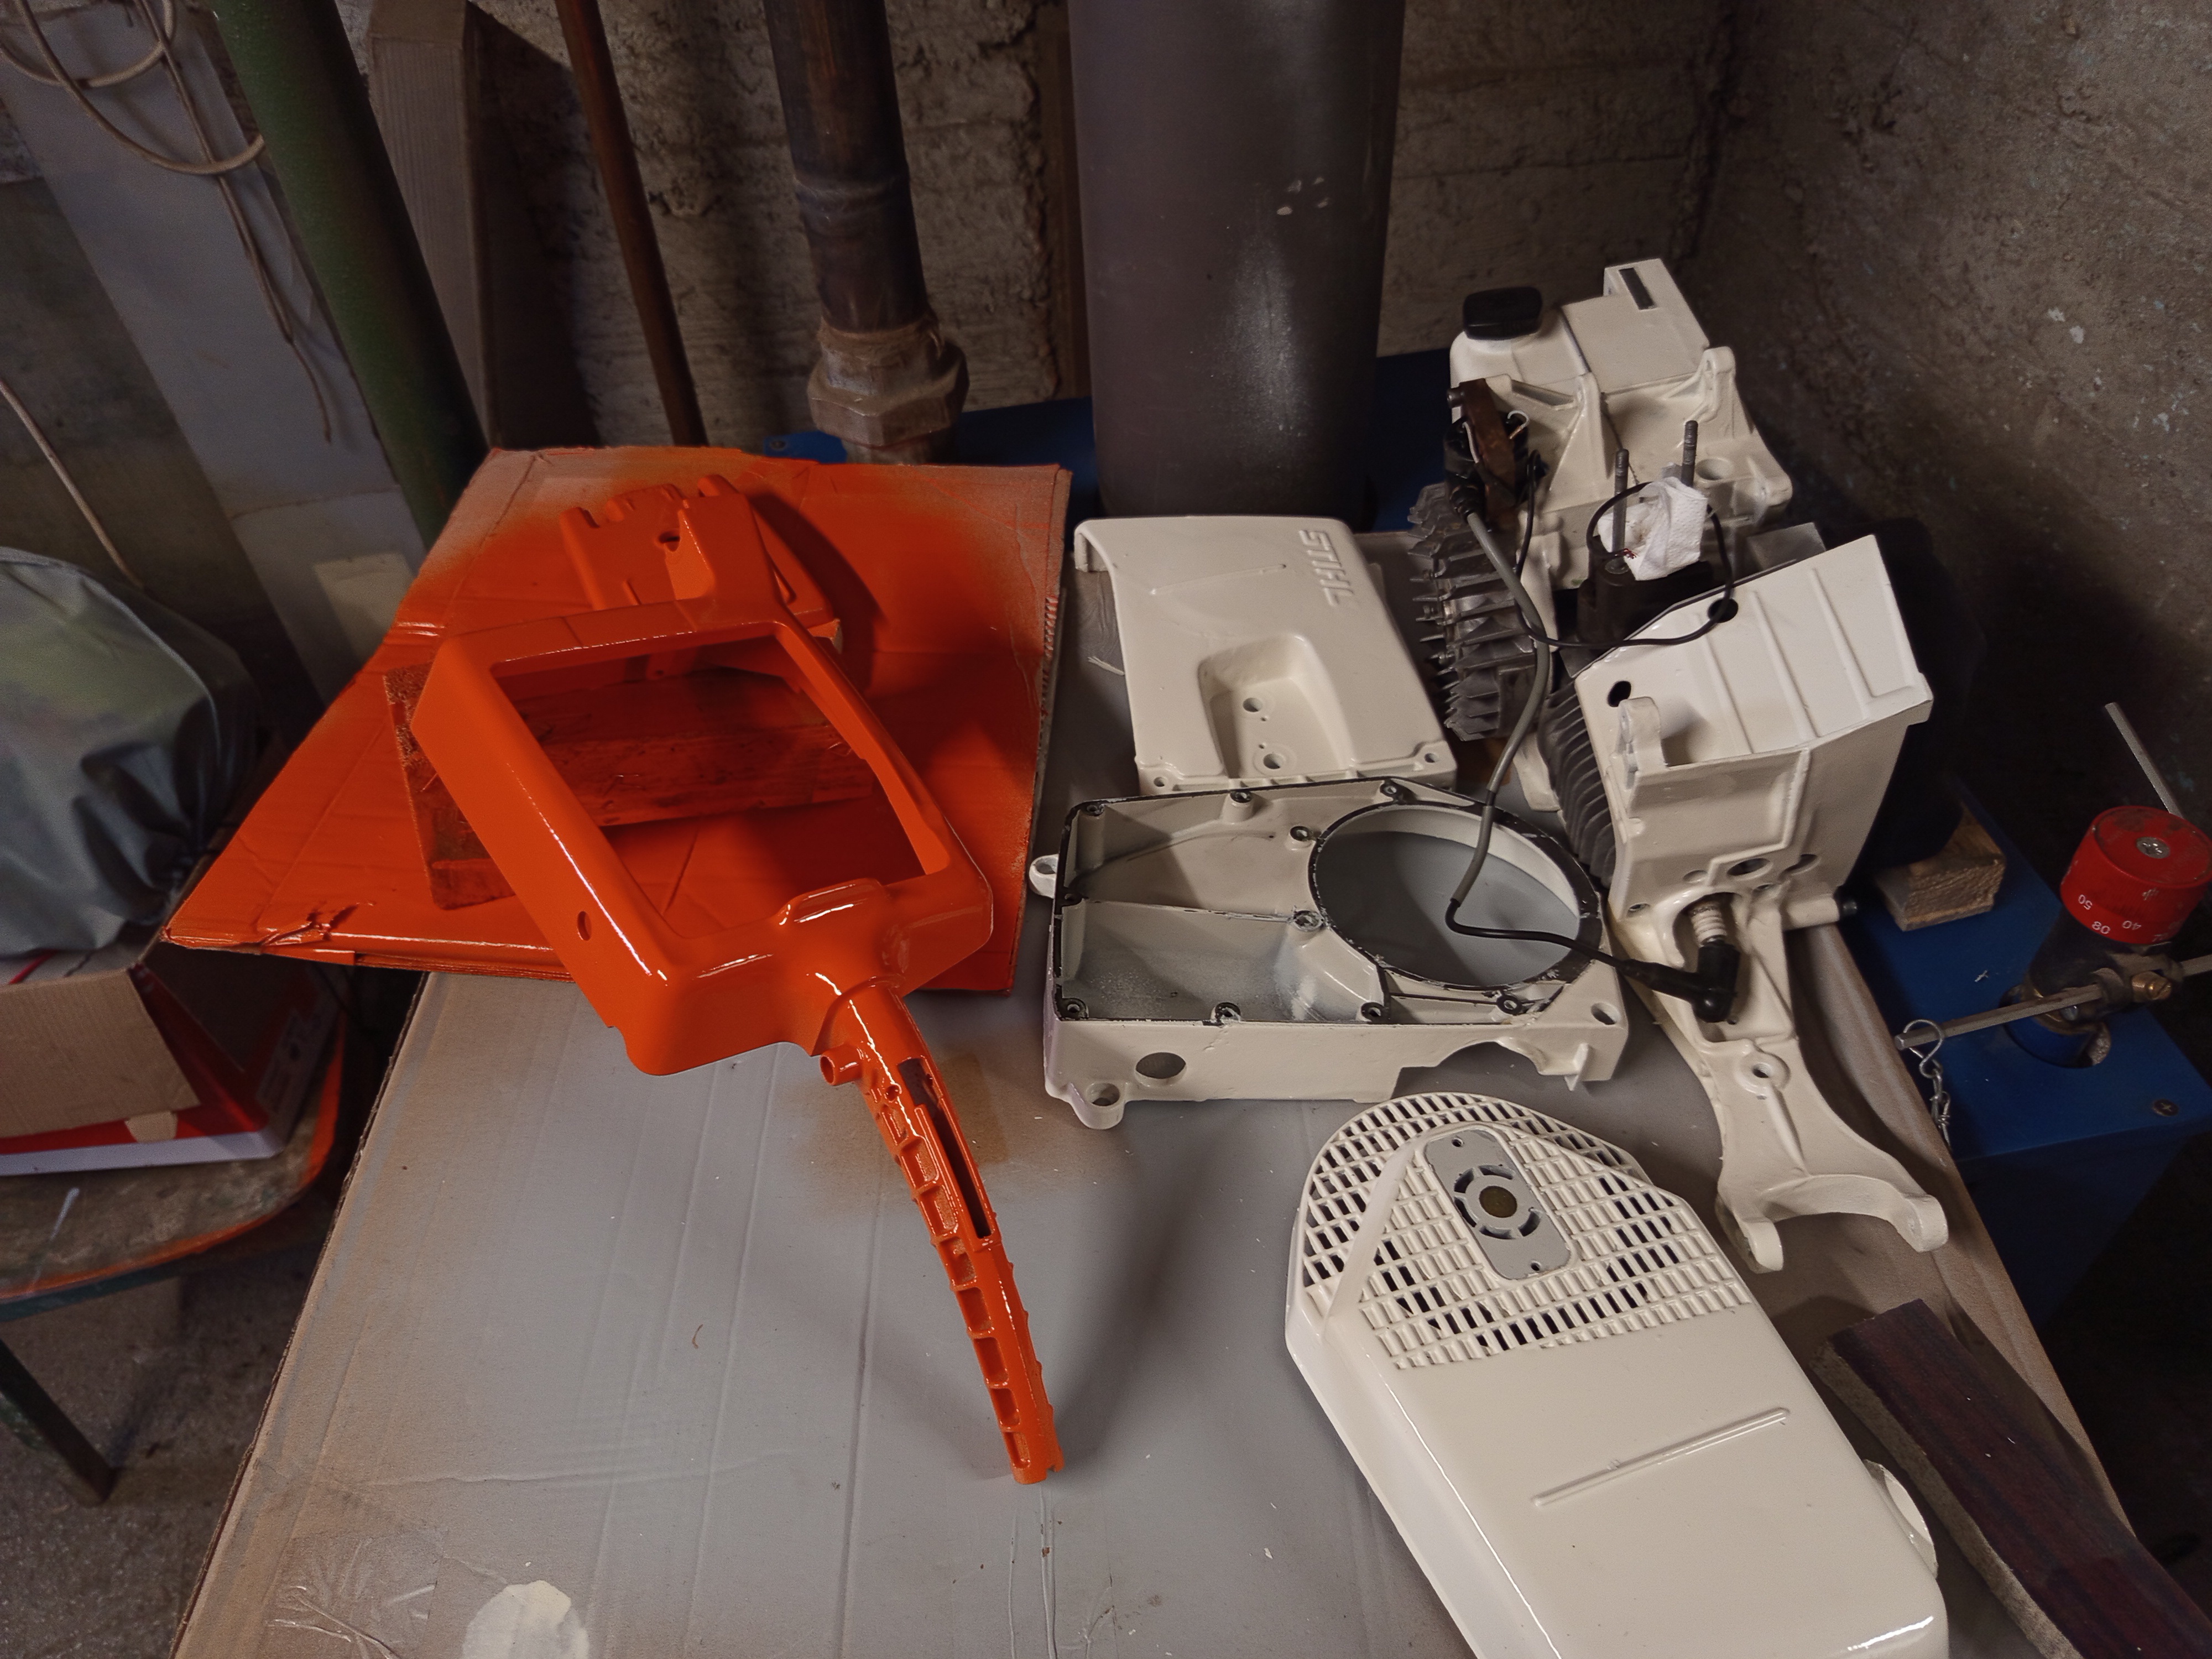
Paint job
Nothing exciting here, I applied a layer of primer on each part, and after it dried, I sanded off the few drips or areas where it didn’t cover properly, because whenever I attempt spray painting I just can’t get the amount of patin right, well it’s still not my favorite job to do, probably beacuse I’m not good at it. But anyway, a few days later I painted the colors too, and it turned out okay. The only thing I skipped here is the exhaust cover, the original one is a bit broken, I found an aftermarket part, and didn’t arrive at this point, but painted that one later on, as it was of course a bit different kind of white.

And that epoxy fix doesn’t look bad!

Preservation
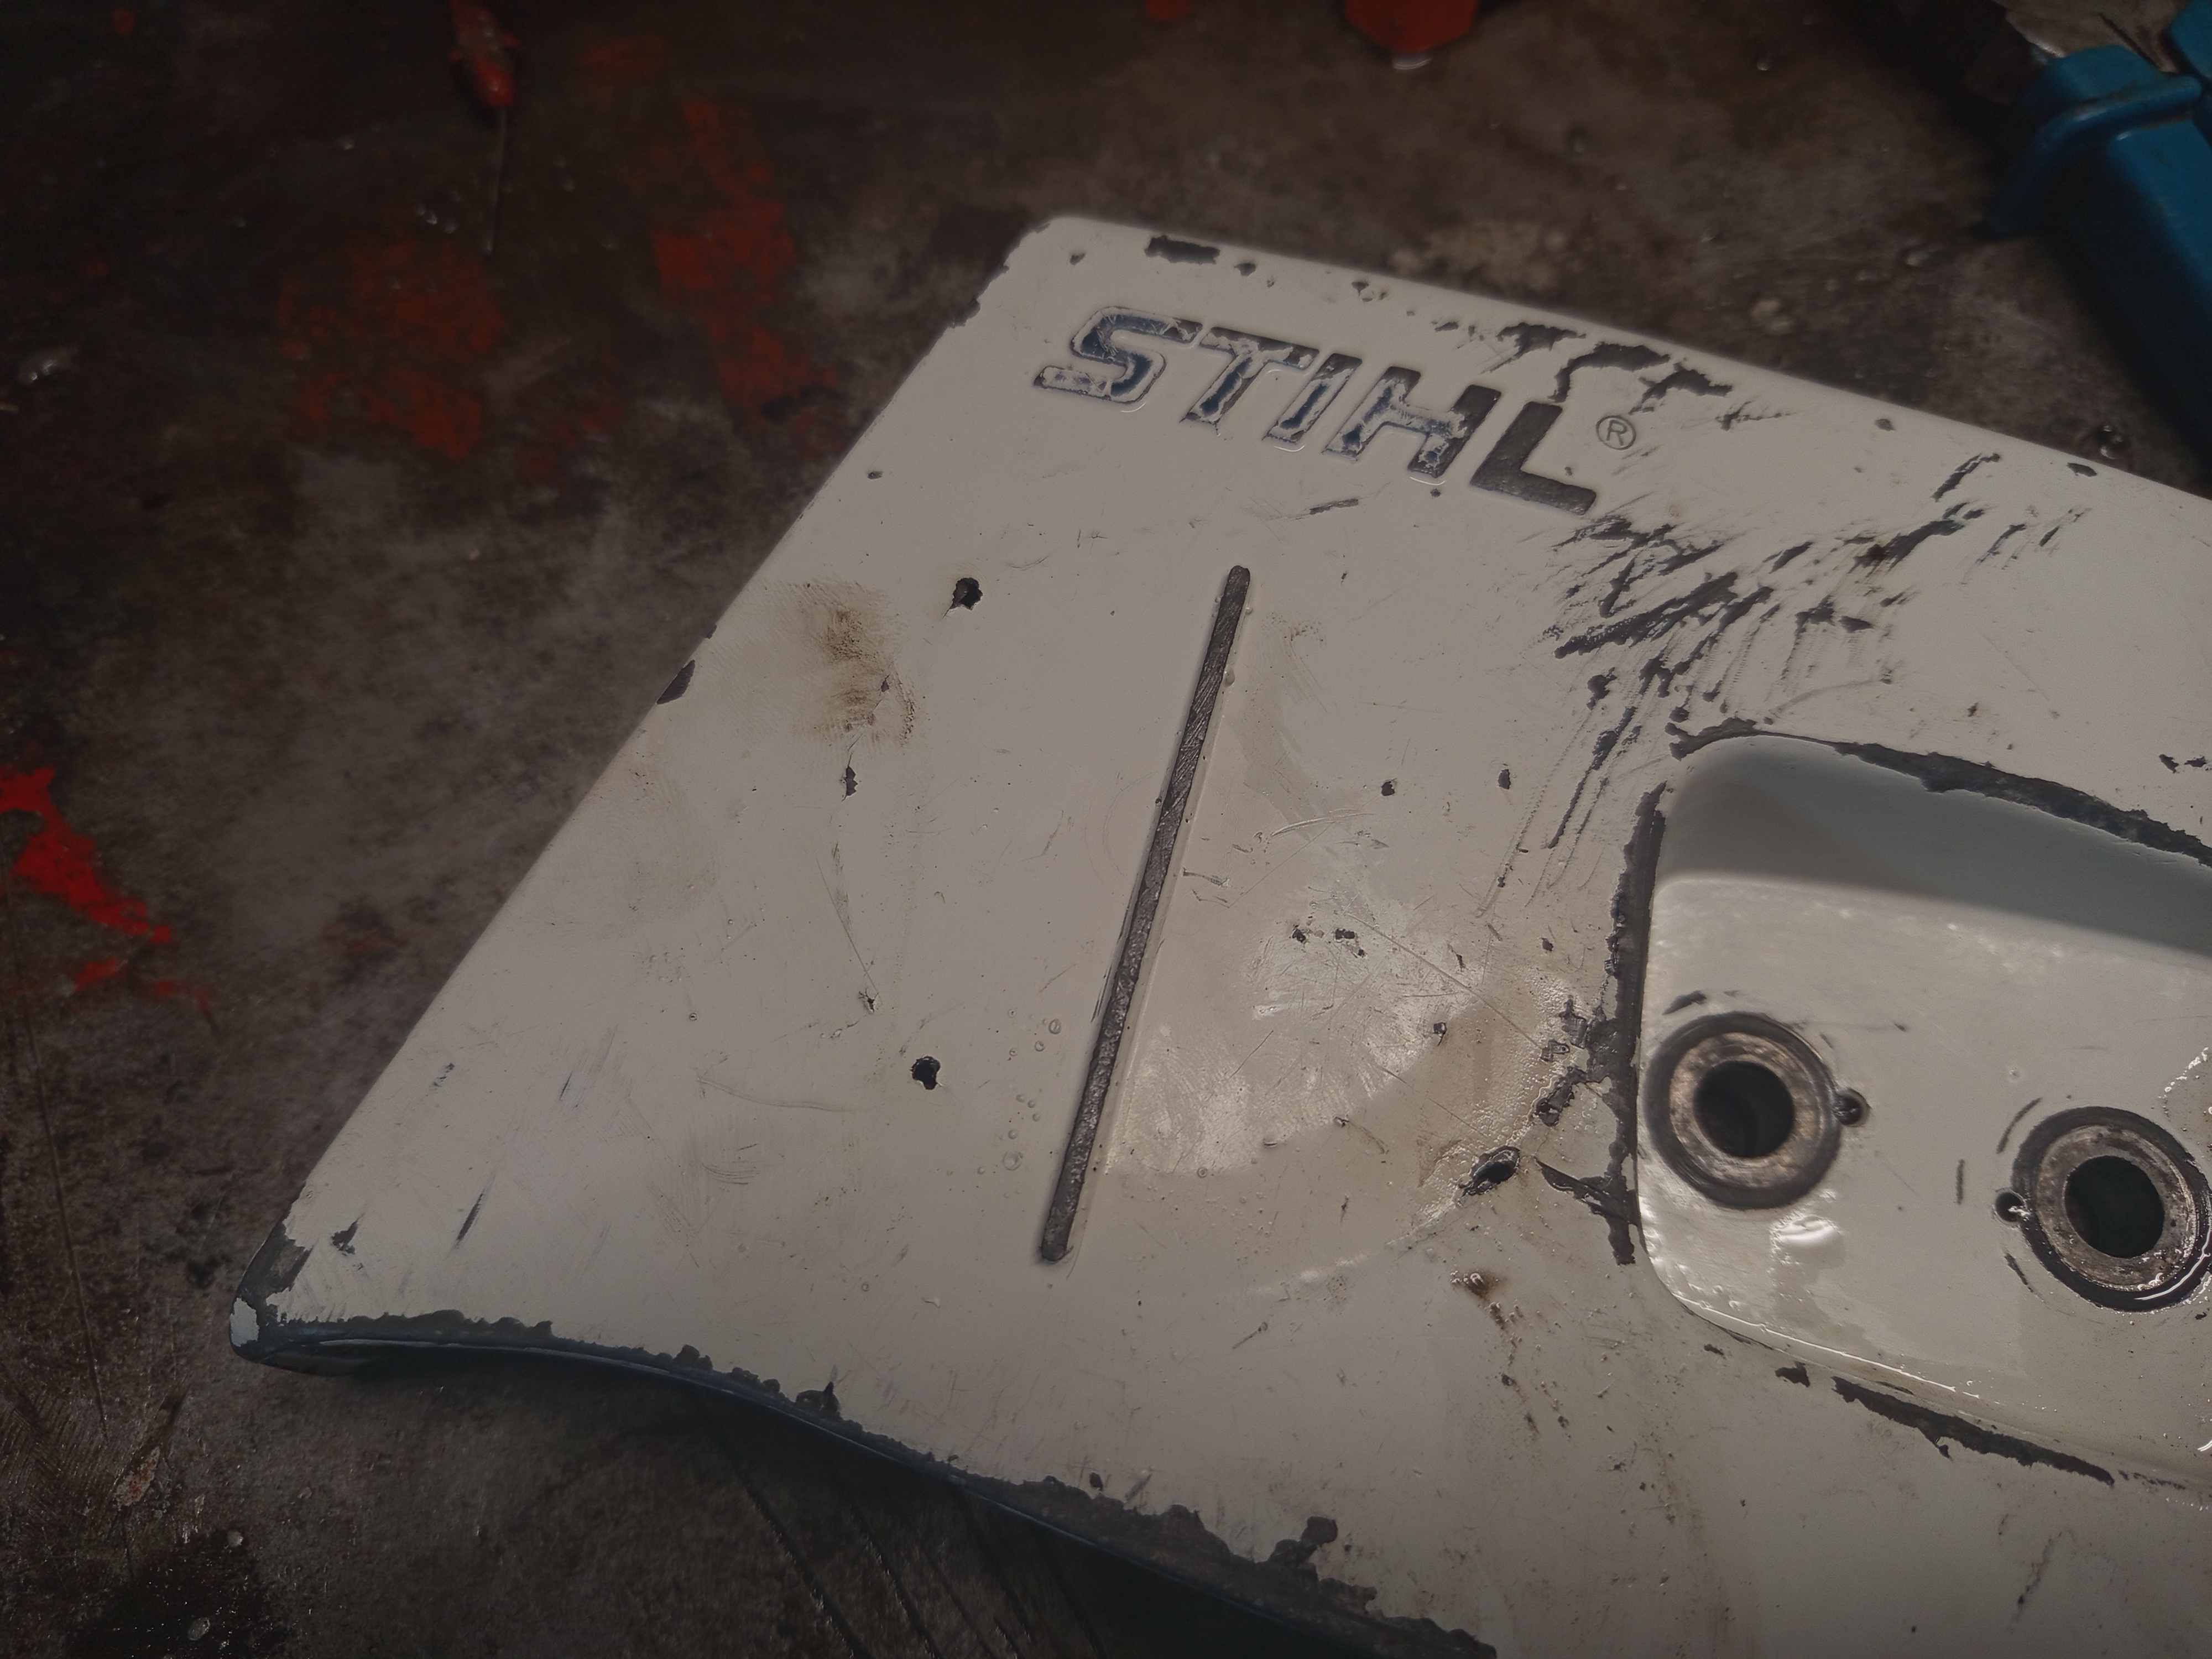
One small part remained, the model plaque on the top cover which is already pretty worn, and I didn’t want to replace it, not that I could find a new one, especially for this exact AVL. So I decided to cover with a layer of clear coat and try to somewhat preserve it as it is.

You probably noticed that the saw is partially assembled here, it’s because this post is more or less written thematically, rather than chronologically, but we will get there. :)